Fully stretched

With the Stockport exhibition opening on 26th May it has been full on production at Studio Leah this last couple of weeks. I have been finishing a collection of 10 panels, each 40cm x 100cm, and each referencing a specific coal pit from the Lancashire and Manchester coalfields. These are part of my Traces series inspired by industries and industrial structures that no longer exist; that have been wiped clean from our landscape. Each piece is finished by stretching over a deep canvas. To help achieve crisp corners I did not use any wadding. Instead I fused two layers of cotton together which gave me a good firm surface to stitch on and a fabric that did not skew and distort as I stretched it over canvas. A few people have asked how I do the stretching so here we go.
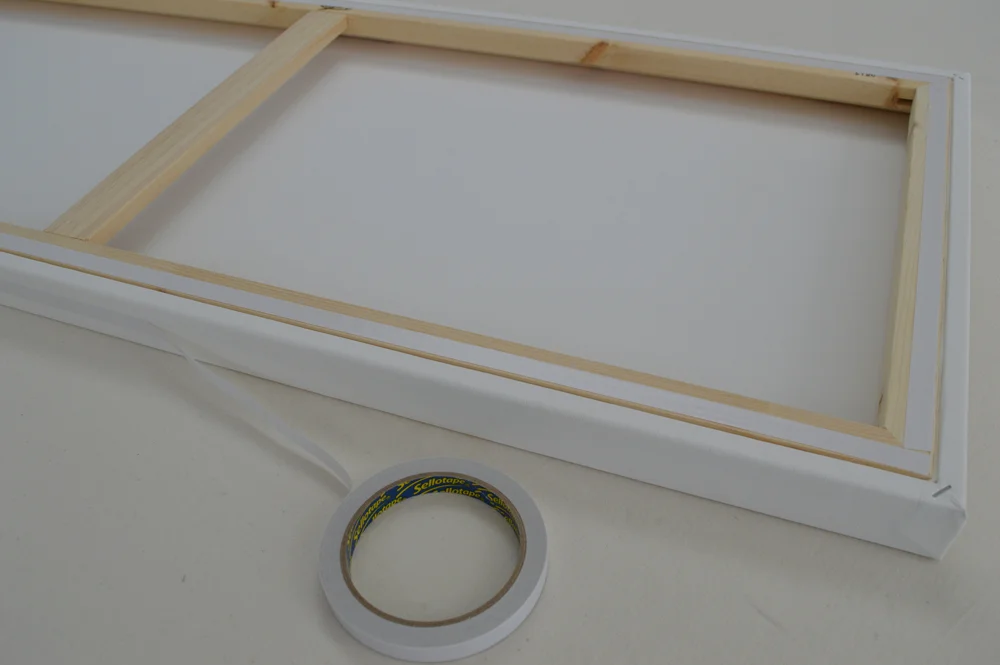


I use stretched canvases rather than stretcher bars as the canvas manufacturer has done all the hard work by stretching the canvas onto the frame. All I'm doing is wrapping my piece around it - I am not really 'stretching' the work. Looking at the above photos from top left to bottom right:
- I prepare the canvas by adding double sided sticky tape to all four sides of the canvas and to all four edges on the back of the canvas. If I were stretching over a standard (narrow) canvas I wouldn't bother with tape on the sides.
- I position the canvas on the back of my piece and mark around it with a pencil. I then trim my piece such that there is enough left to wrap around the edge of the canvas - in this case my canvases were 1.5 inches deep so I trimmed to give 2.5 inches all around. I also trim away part of the corner section to reduce the amount of 'bulk' at the corners. I leave about 3/8th inch of the corner - look at the photo to see. This leaves me with a 'flap' on each side.
- I spray the front of the canvas with a little 505 basting spray and re-position on the back of my piece. The spray is just there to prevent the canvas slipping. With one long edge facing me I remove the paper strip from the double sided tape on the side of the canvas and start lifting my flap up onto it. I start from the centre and work to towards the corners. You don't need to pull hard, just enough that the piece is a snug fit to the side of the canvas.
- I then remove the paper strip on the back of the canvas and flip my flap over and down working from the centre out towards the corners. Again you don't need a lot of force. Once in place I finish by adding some staples. You don't need many as the tape does most of the work. I repeat this process on the other long edge.
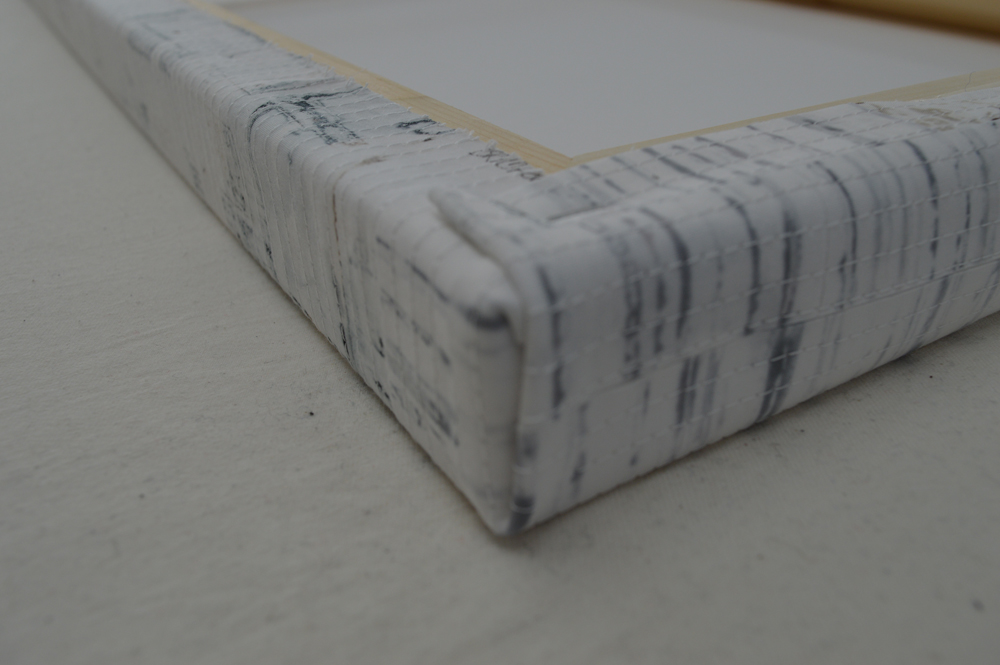
- This is the most important part and probably the hardest to describe! I tend to get on my knees so that the short end of the canvas is at my eye height. I remove paper strips from both the side and the back of the canvas. I turn the excess fabric (that 3/8th inch) from the side wall of the long side of the canvas around onto the side wall of the short side and stick it to the tape. As you turn this edge it naturally turns the edge of the short edge flap under. I then lift the short edge flap up and over the edge of the canvas tucking in the excess from the top of the side flap as I go. I pull the flap tight and fix in place with a couple of staples. I repeat at the other corner. I then go along the short edge lifting and sticking down the rest of the flap. I do the same for the other short edge.
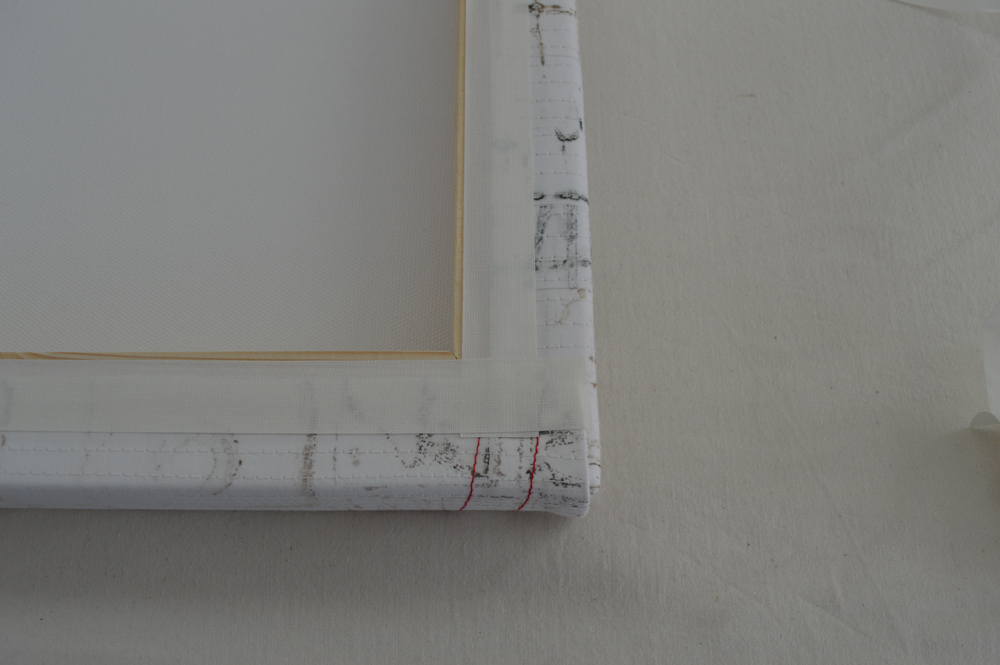
- Because fabric can fray, and because I am a neat freak I finish my canvas by adding a linen effect self adhesive tape over the fabric edges on the back of the canvas. I then sign the back of the canvas and add a business card.
I love the finished effect, particularly how the stitched lines fold around the edges. And using deep canvases meant that I could stitch the name of each piece onto the side edge. I can't wait to see all 10 hung together!