Steady Progress

First of all, a very big thank you to everyone who got in touch after my last post - your support means the world to me.
I have spent the last three weeks or so focussed 100% (well maybe 98%) on making art for my upcoming exhibition. And it has been wonderful! An unexpected heat wave has slowed me down a bit over the last couple of days but I’m one day ahead of schedule and, much more importantly, I’m really happy with the work I’m creating.
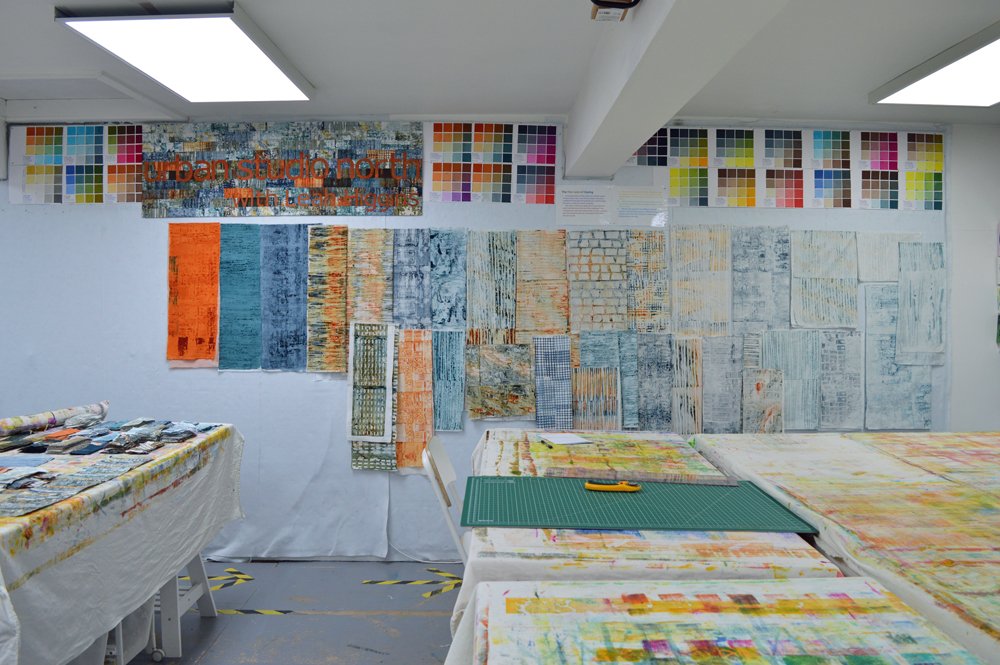
I will be making 3, possibly 4 new pieces and reworking an older piece. Doesn’t sound much but this includes two new, large pieces from my Ruins series. The last piece I made in this series was in 2019. Although I had some fabrics left over from then, there was nowhere near enough for the art I plan to create. So on Monday 21st August I started printing with the aim of printing 15 - 20 metres of fabric, more than I need right now but Ruins is an ongoing series. Since then I have finished the construction of Ruins 12 and have started quilting it. All of which is best explained in photos ….
(Above) The fabrics I already had.
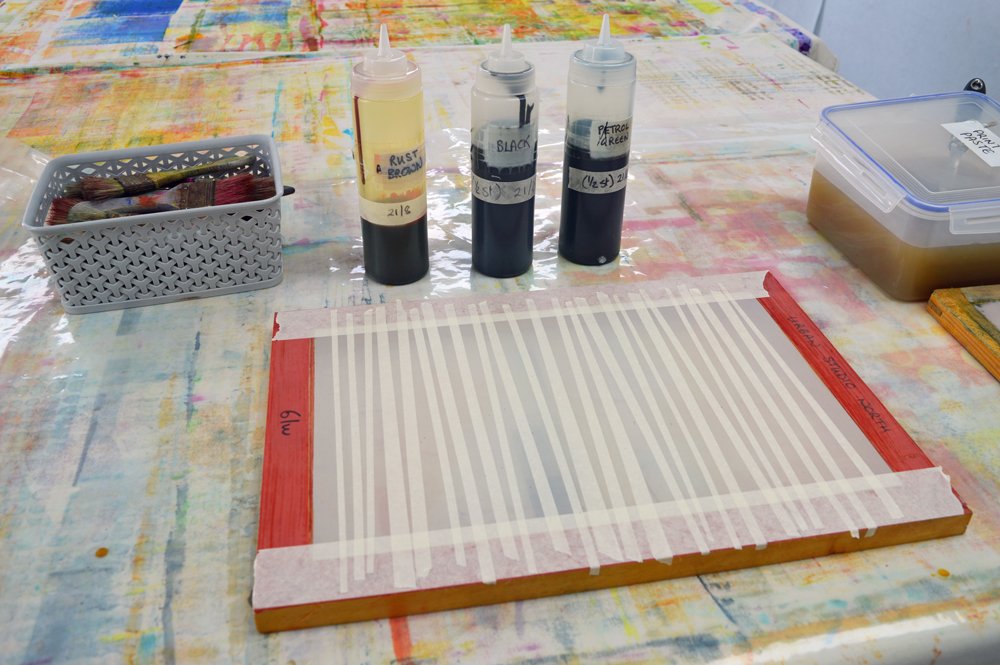
(Below) Starting printing - I used 3 colours, rust brown, petrol green and half strength black.
Fabric printed using a wonky barcode breakdown printing screen.
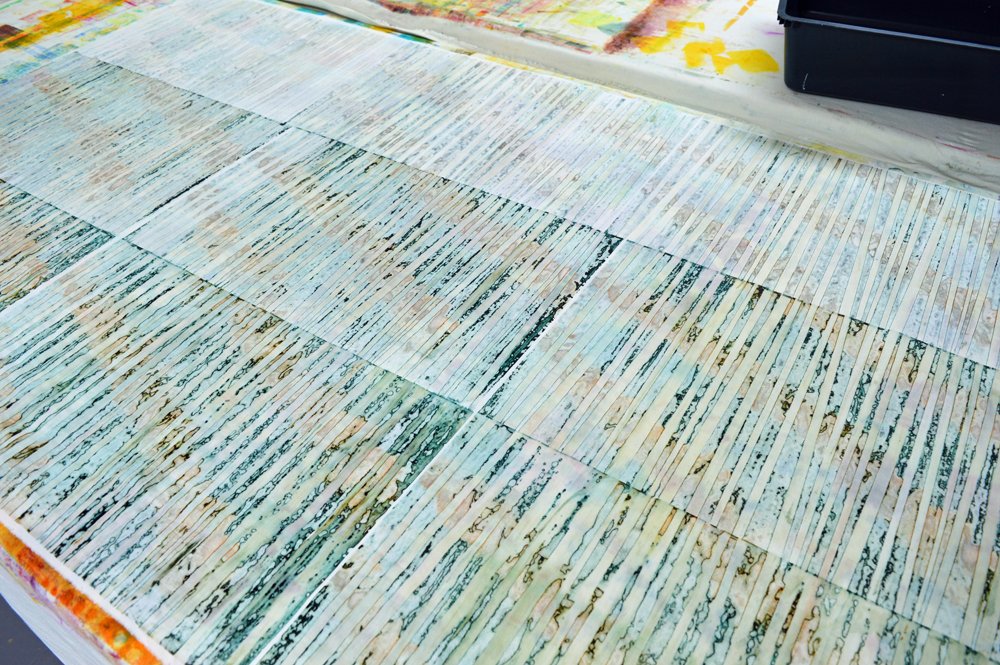
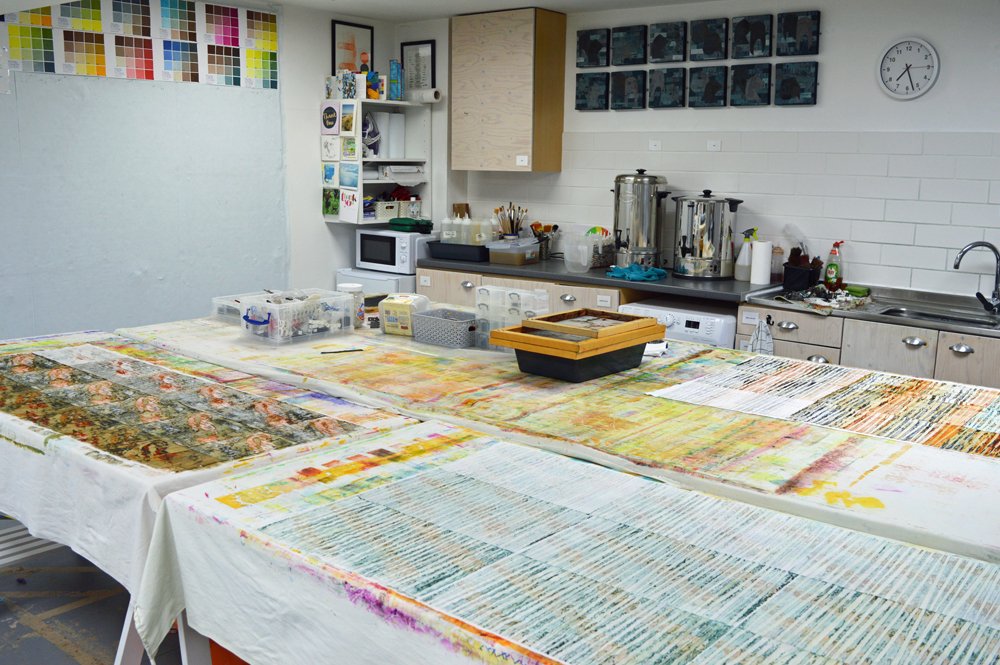
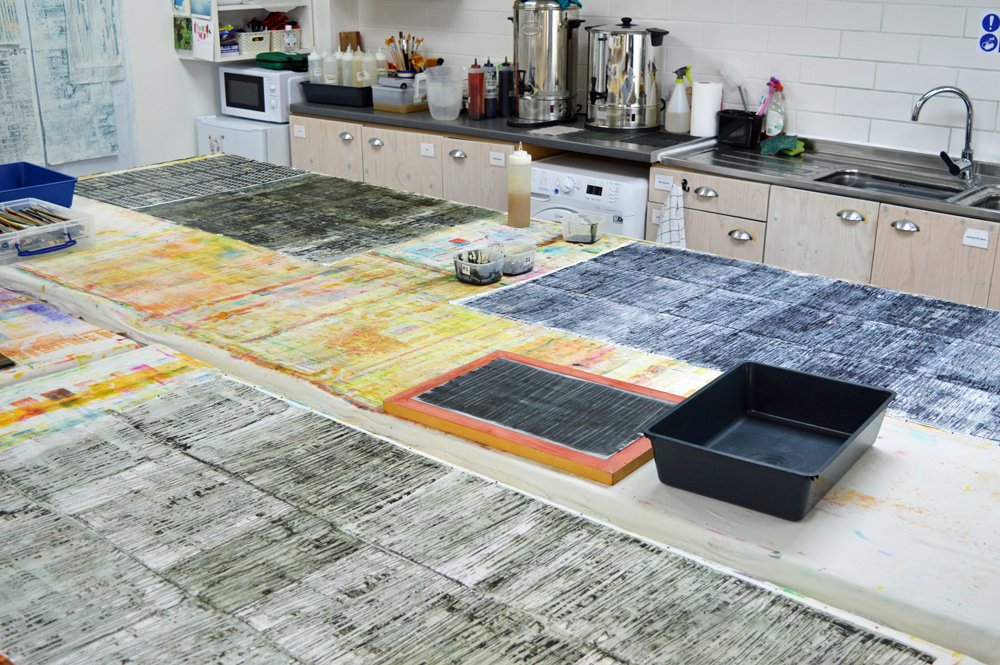
I’ve got a big studio so I might as well use it … printing multiple pieces so that I can let the fabric dry a bit before adding another layer of print.
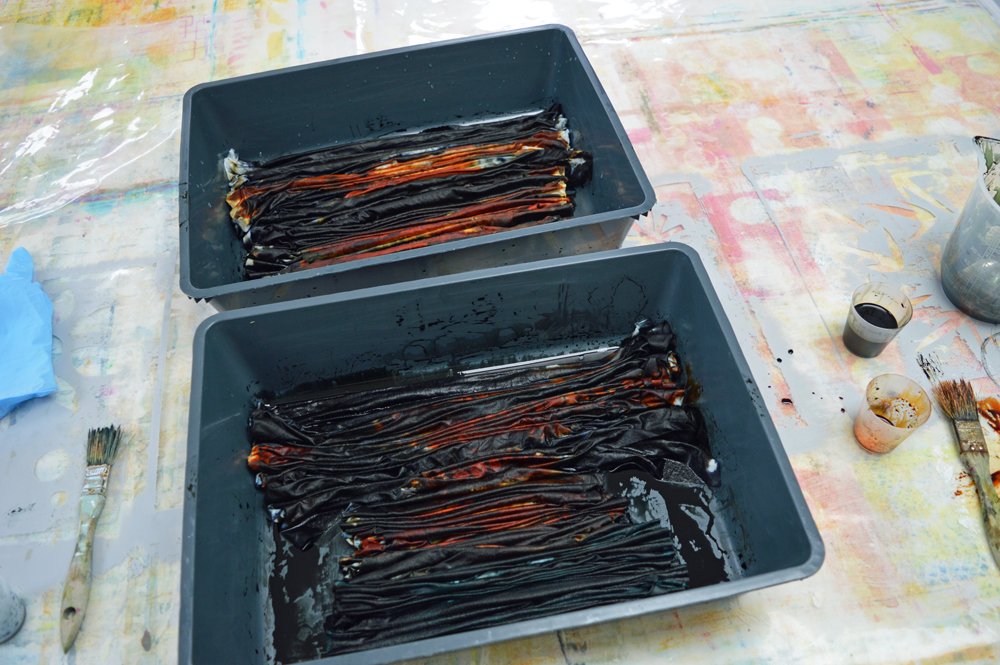
The dreaded rinsing and washing stage - has to be done!
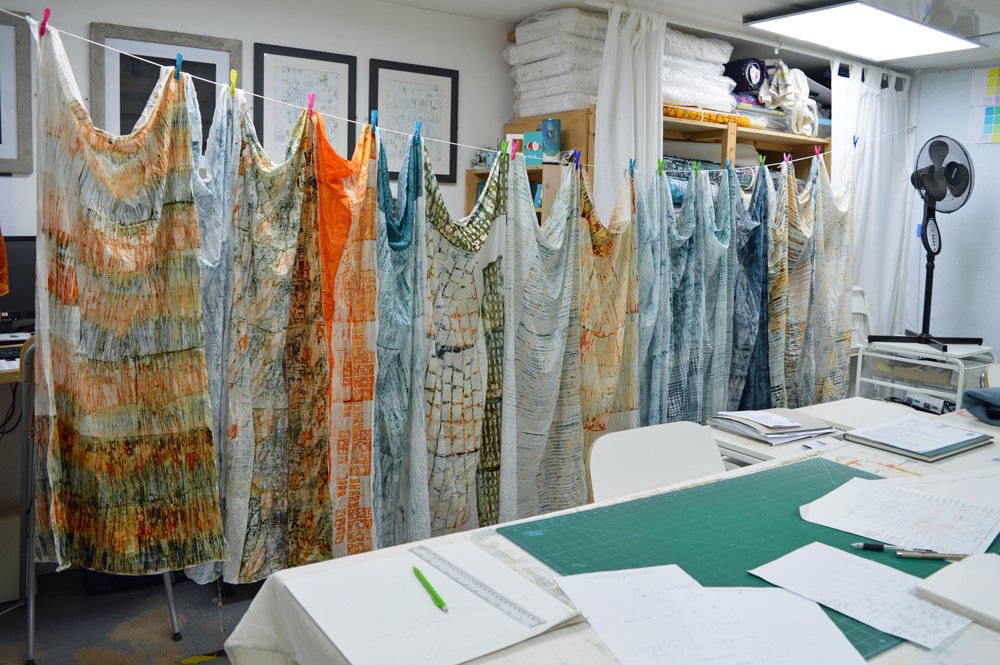
Five days worth of printing, ironed and pinned to my design wall. Too much ‘light’ and too much ‘rust’.
Dyeing some darker fabric - I included some pieces of light printed fabric which were a bit ‘underwhelming’.
Printing darker, grungier fabrics.
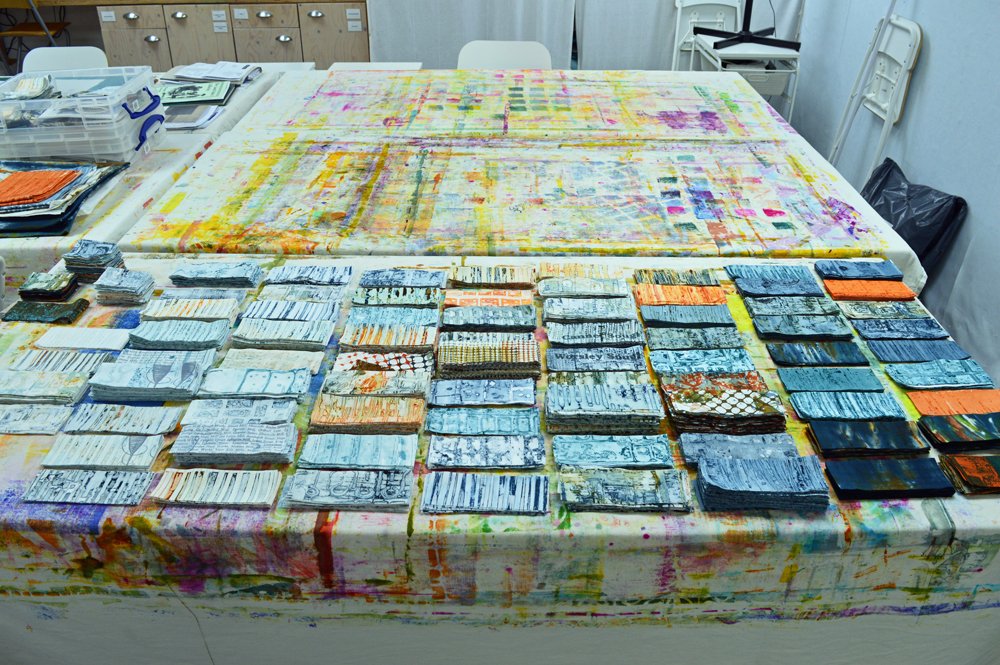
The final palette of printed and dyed fabrics.
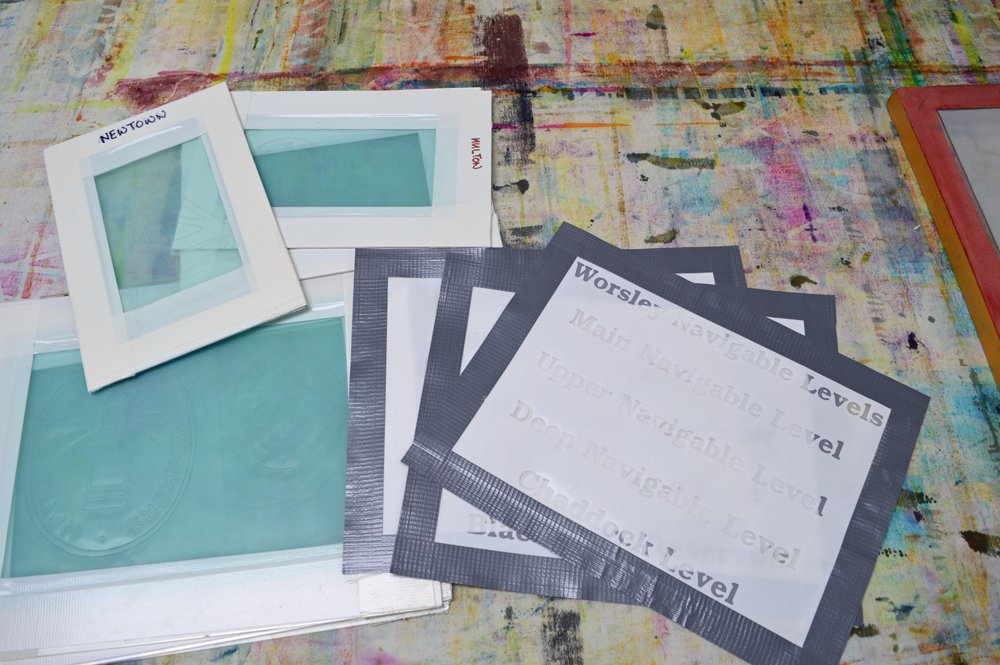
Adding small details to some of the fabrics using stencils, thermofax screens and textile inks.
Everything cut into mostly 2.5 x 6.5 inch rectangles. Scraps cut into 2.5 x 3.5 inch pieces. No cherry picking, just cut everything.
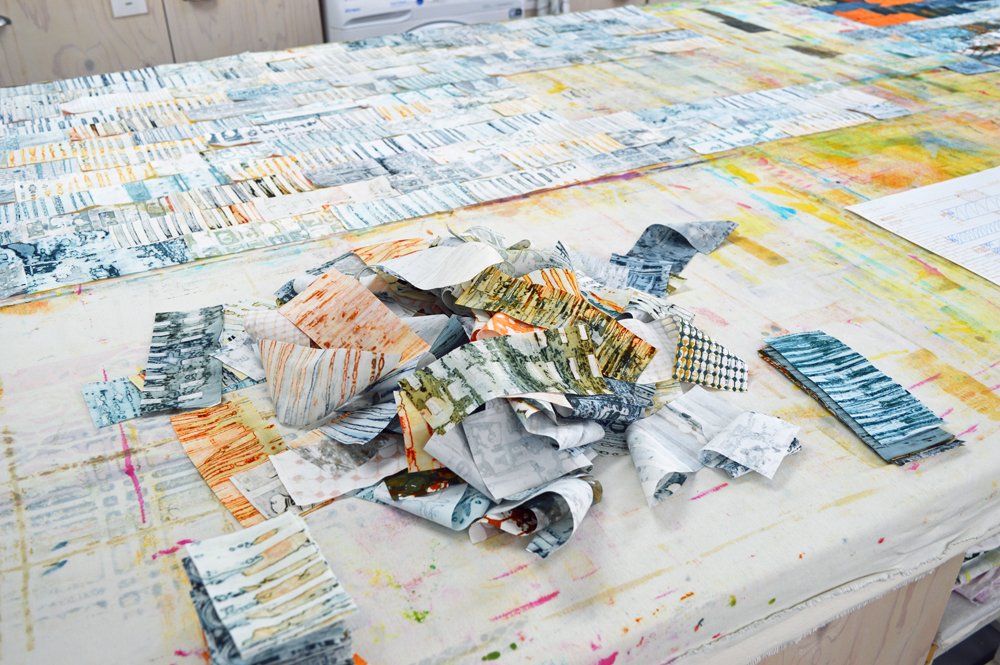
Shuffle fabrics, close eyes and pick pieces at random. Lay them out just as they come.
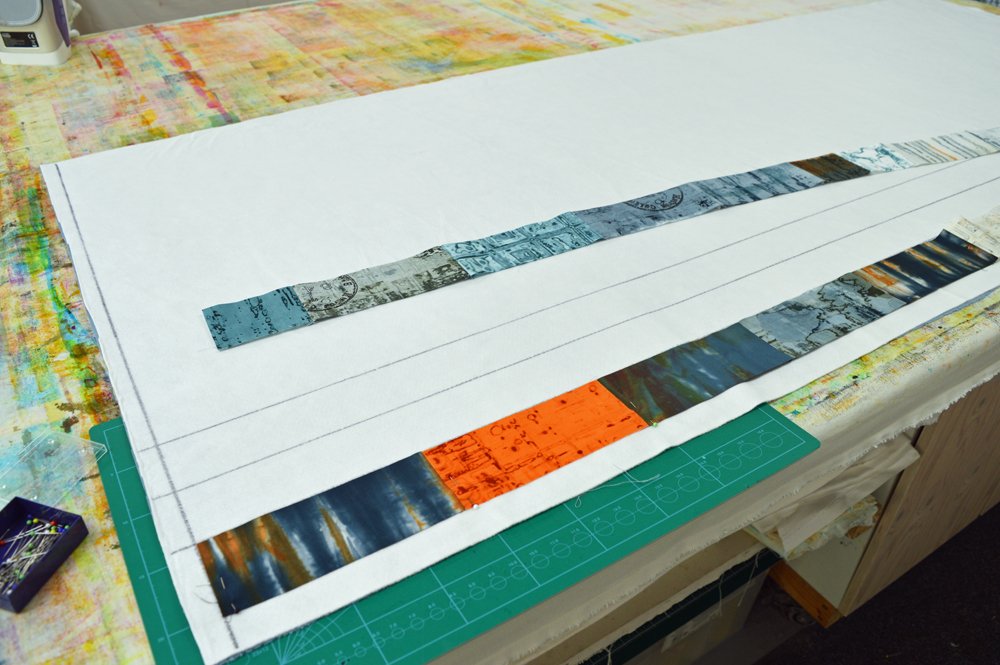
Layout with specific areas in light, medium and dark values. Layout loose on my big bench then sew short ends together and pin to my design wall.
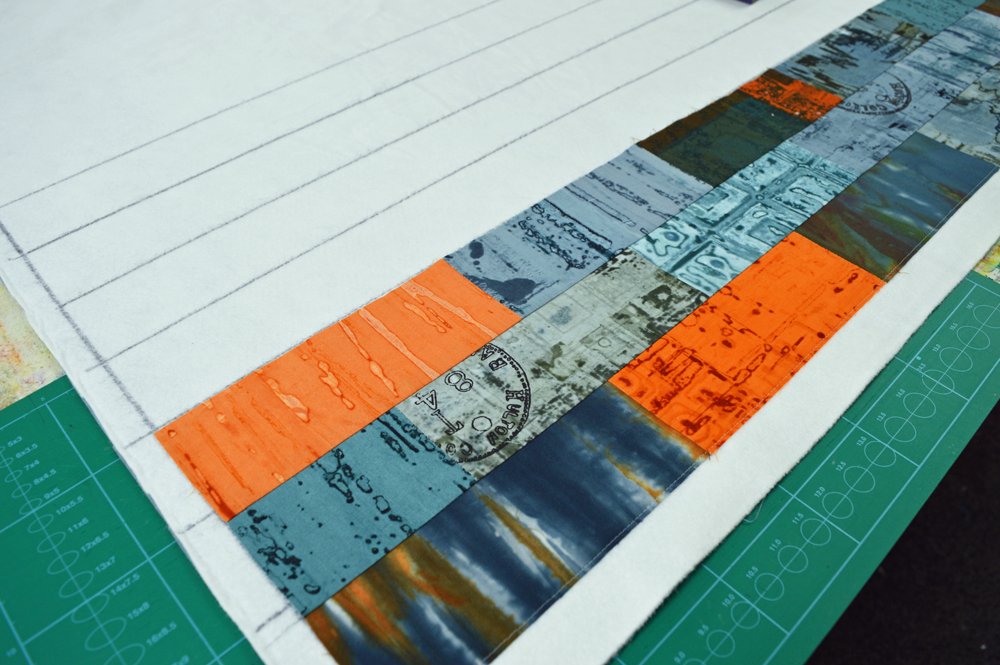
Create my quilt sandwich with hand dyed cotton backing fabric and acrylic felt wadding. Draw parallel lines on the felt and start attaching long strips using the stitch and flip method. First piece, face up.
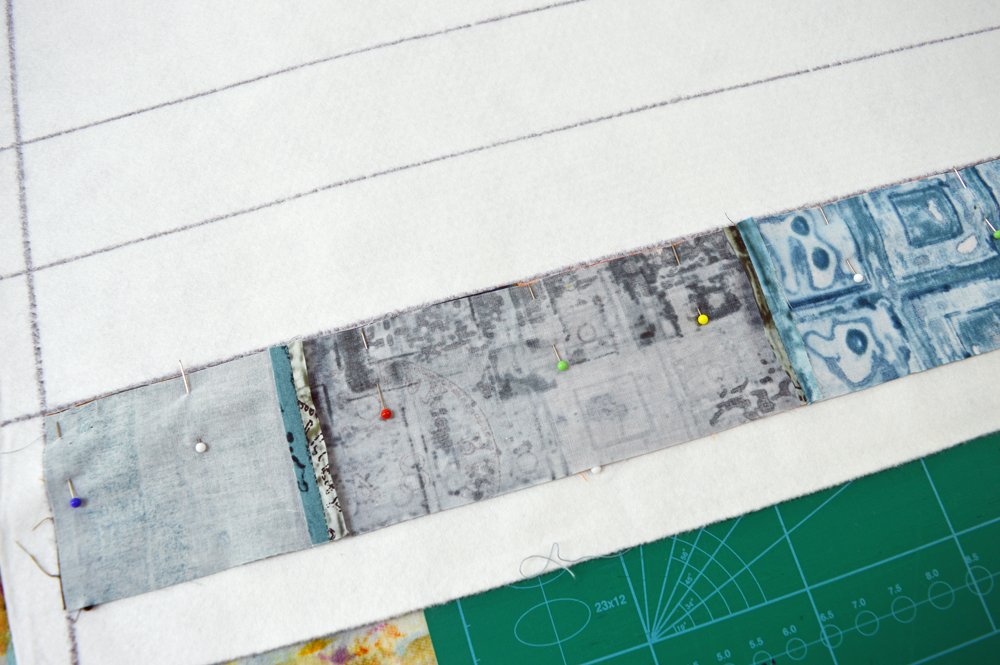
Second piece, face down.
Sew one quarter inch from line drawn on the felt. Flip the fabric over so front face is now showing. Add next strip, face down. Stitch. Flip. Add next strip …..
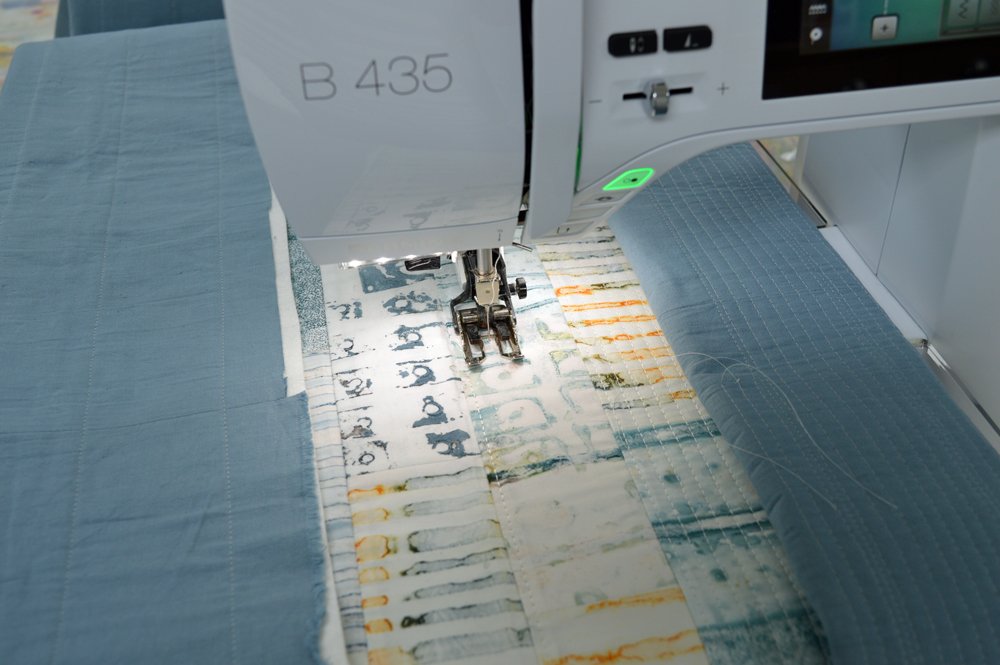
Once all the pieces are attached I can start quilting.
Of course its a little more complicated than this but you get my drift. And it will all make sense when the quilt is finished!