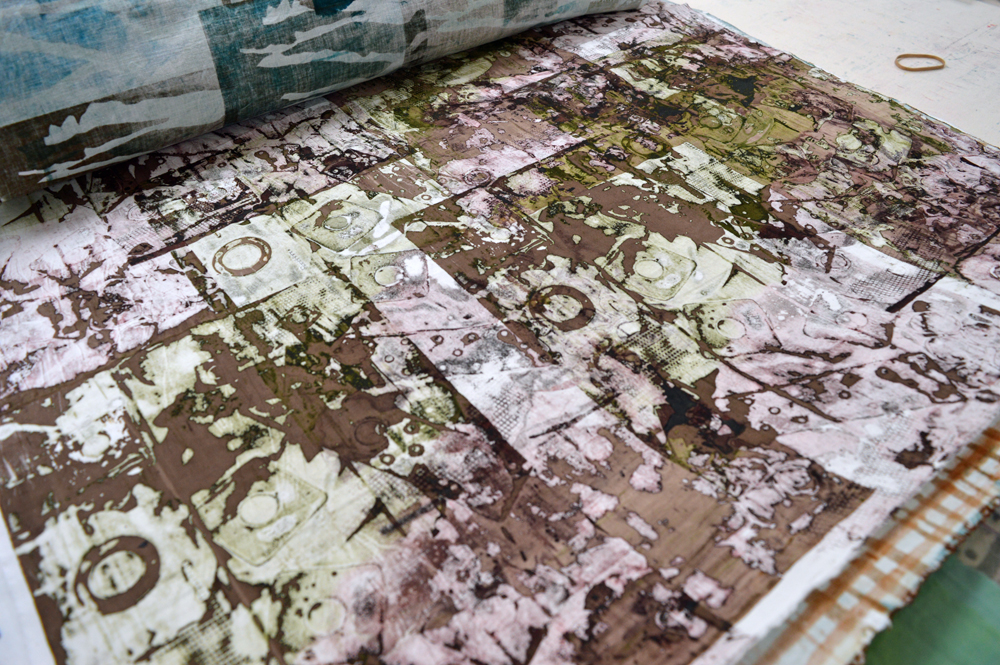
38 days to go
Agecroft (detail)

Agecroft (detail)

38 days until my gallery at Festival of Quilts opens to the public. Loads of time even allowing for the 7 teaching days between now and then …. . Oh boy!

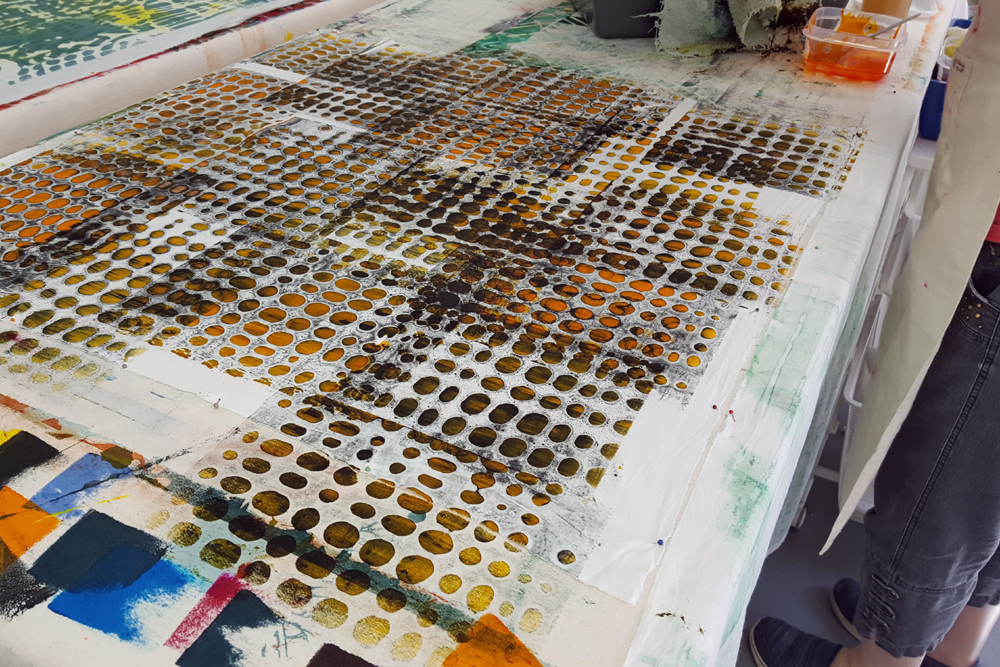
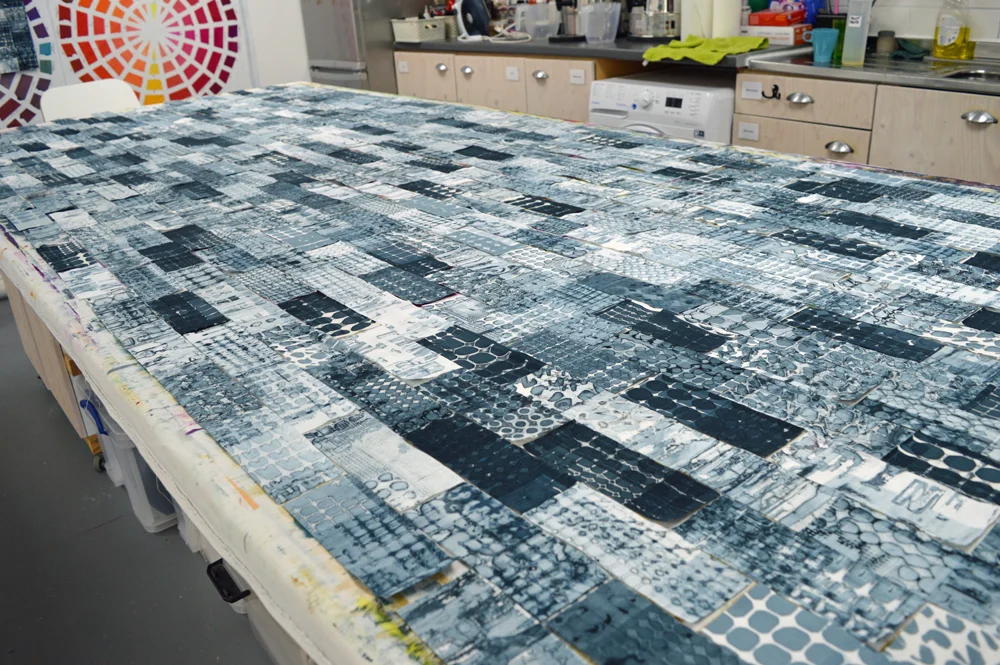
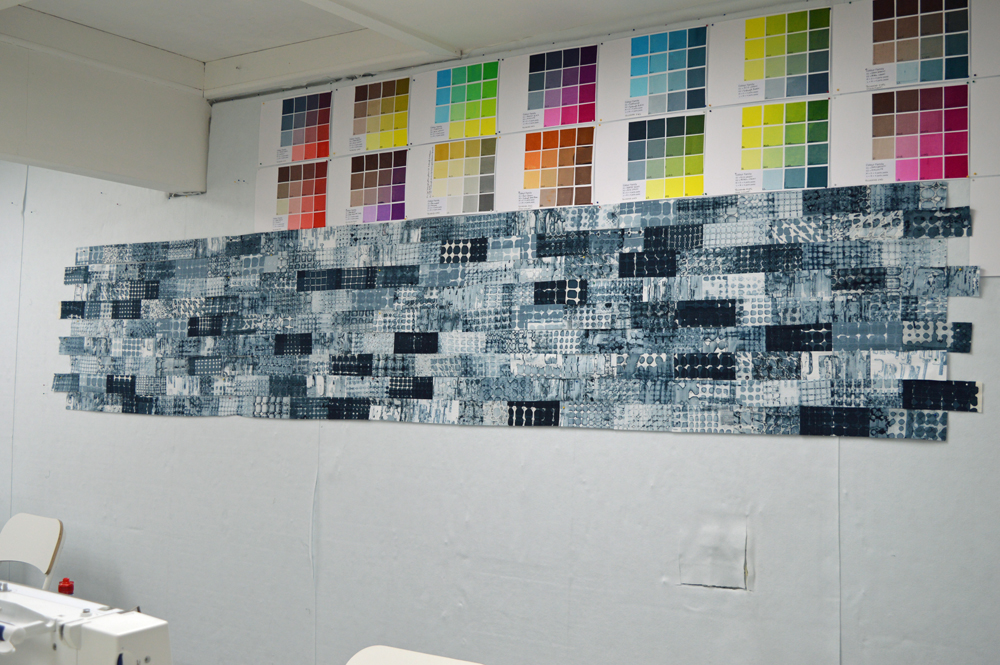
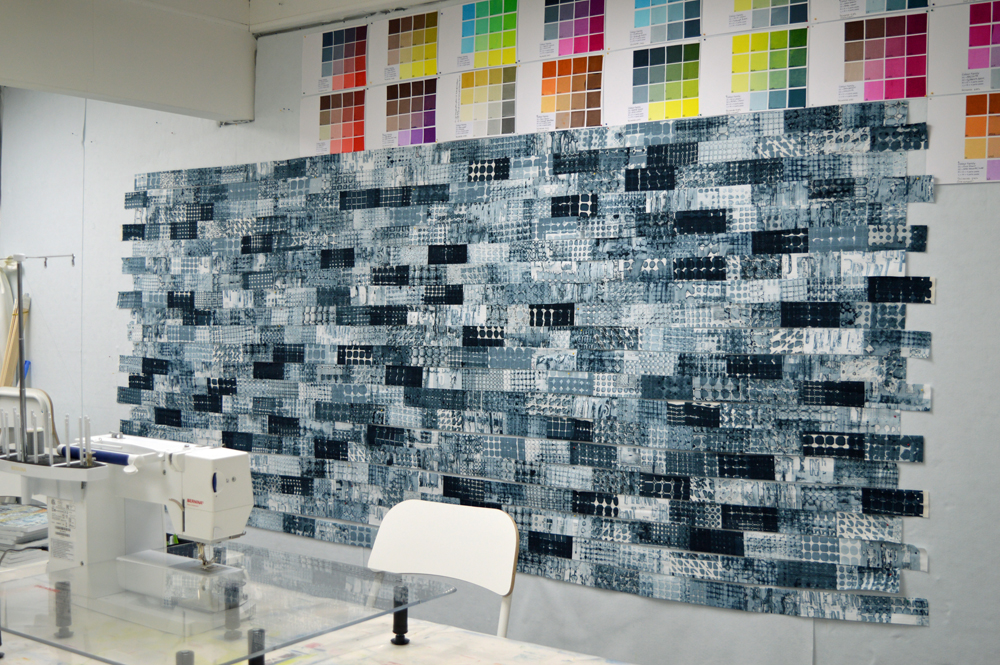
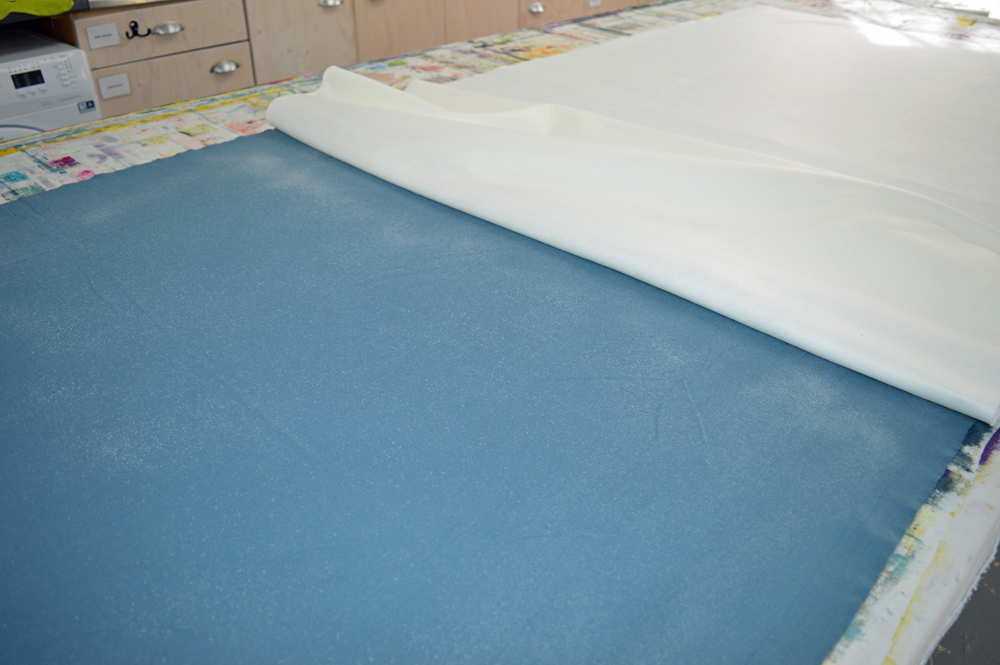
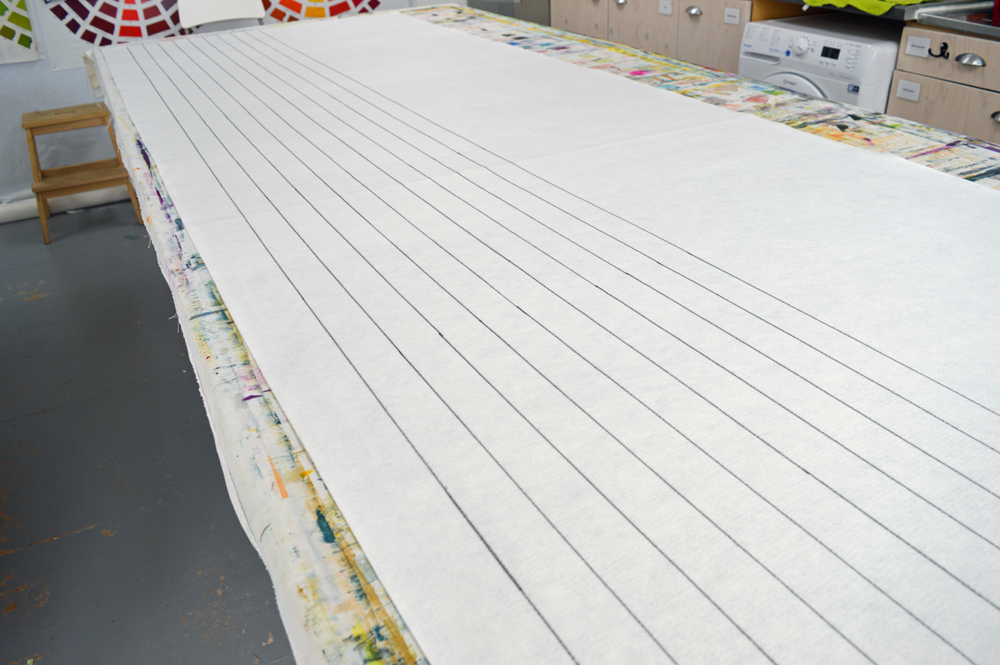
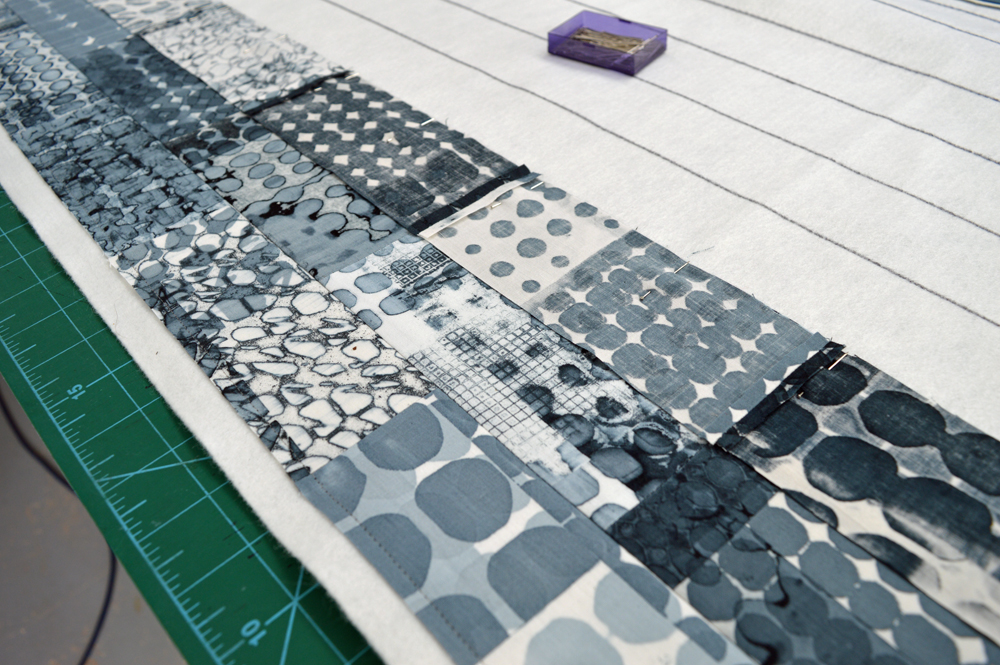
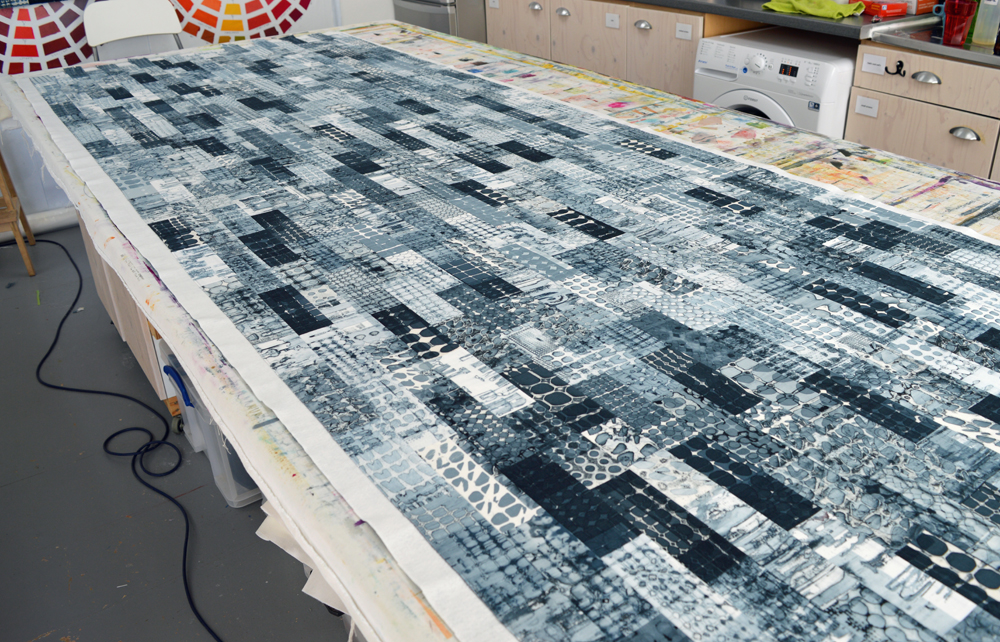
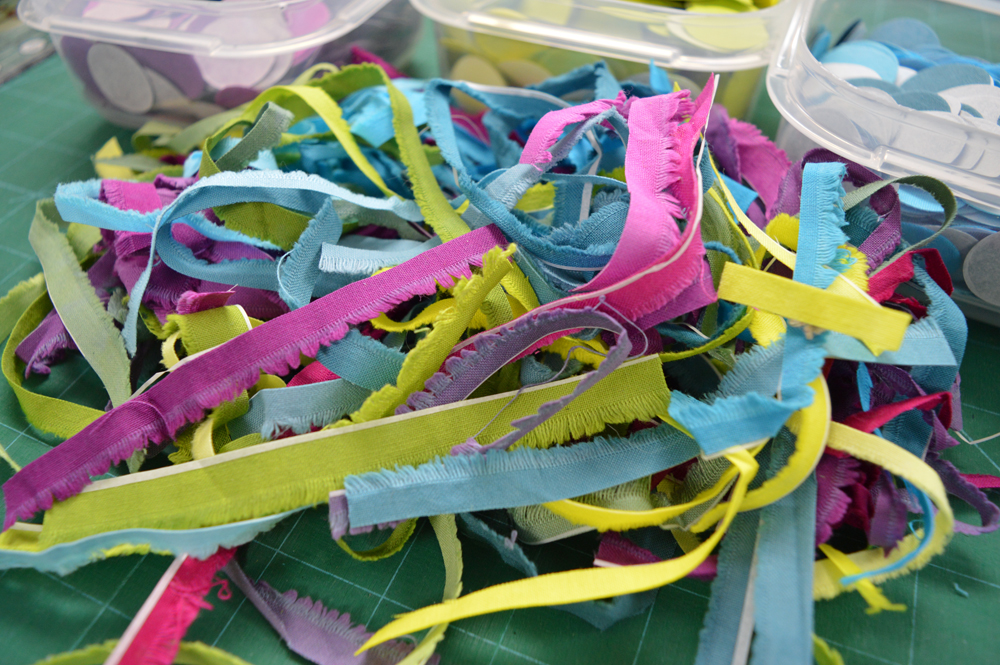
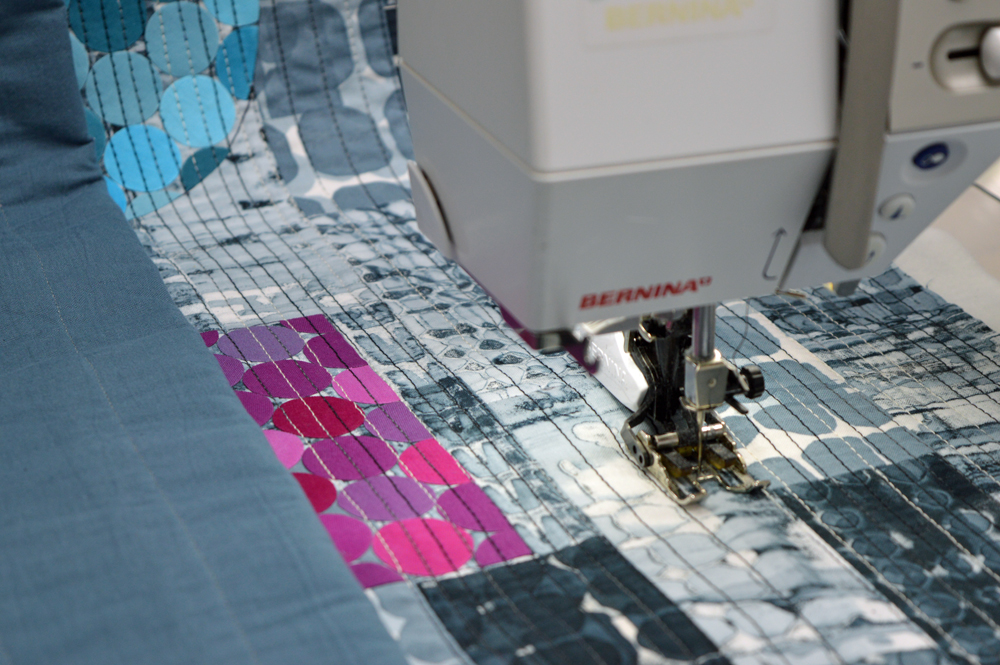
This morning I have been writing lists. I have the BIG STUFF list - top item is finish all the artwork (obviously) but also includes hiring a van and getting more books printed. I have the list of things that I need to take to Festival which ranges from flyers for Urban Studio North, to a drill, to packets of tissues (for when I come over all tired and emotional) and includes gaffer tape and cable ties because no well organised artist leaves home without them. And I have the scary list - my artwork tracking list. Which has a lot of blank spaces on it. I will be exhibiting 24 pieces of art. 15 of them are finished, 4 are finished but need stretching over canvas. 1 is at the quilting stage. And 4 pieces exist only in my head right now. Oh boy, its going to be tight!

So, I’ll sleep less, my house will not get cleaned, my family can feed themselves. And I apologise up front … I don’t think I will be blogging much in the next 38 days. Instead I will try to post images and quick updates on Instagram. If you’re visiting Festival of Quilts please stop by my gallery and say hello. I’ll be the artist asleep in the corner!

You can find me at https://www.instagram.com/leahhigginsartist/

23 June 2019 1.jpg
And breathe ....
DSC_0611.JPG

After a wonderful 5 days spent with lovely students on my Breakdown Your Palette workshop I have got the studio clean and tidy for the next set of students on the 1st of July. Of course it won’t stay clean and tidy …. I need to switch into ‘artist’ mode for the next week as I continue to get ready for my upcoming exhibition. Then switch back into teacher mode to clean up after that messy artist person!

It is rather nice to take a quiet moment to just sit in the studio and reflect on the week. A 5 day class is exhausting for students and teacher, but it is worth it. I get to see the students develop their ideas and become more confident in their work. I get to develop as a teacher. Fabulous cloth is printed. Not so fabulous cloth is also printed but that is OK because we are all learning, me included. There are periods of comfortable silence and lots of laughter. Friendships are formed. I really am very lucky, if a little tired.

Below is a snap shot of what was produced over the five days. Although there was an awful lot of golden yellow, rust brown and petrol green flying about the variety the students work was amazing.

Where does time go?
Fabulous quilt by Pat Wills

Fabulous quilt by Pat Wills

My next Breakdown Your Palette workshop starts tomorrow morning and I’m just about ready. My first Breakdown class was three weeks ago and it was glorious! Since then …. well I’ve been super busy trying to get art made for my exhibition at Festival of Quilts as well as teaching my Introduction to Surface Design classes. I have three groups of students each at different stages of the 1 day a month for 10 months programme. So over the last two weekends I have taught one group paper lamination, one group mono-printing and one group had their second session on screen printing. Lots of preparation, lots of swapping around samples on my design wall and lots of getting things out and putting things away. Because I’ve found that I have to clean up completely from a class before I feel comfortable working on my art.

I did get a special fuzzy feeling when one of my students, Pat, brought a quilt she has made from the first piece of fabric she screen printed in class. Based on rock strata and fault lines it references all the places Pat has lived that have been affected by seismic activity. Fabulous!

The studio looks like an oasis of calm right now but it has got awfully messy in between teaching days. The weather has been dreadful so I’ve been drying soda soaked fabric on two lines strung across the studio whilst constructing and quilting a rather large quilt. Lots of walking the long way around tables and benches to avoid getting soda on everything. This has made me rather twitchy. Lets hope for better weather!

Wonderful, wonderful breakdown printing!

Last week I held my first 5 day Breakdown Your Palette workshop and it was brilliant. If you’ve been reading this blog for a while you will know that I am just a little bonkers about breakdown printing. It has formed the basis for my art quilts for the last four years or so and is the subject of my book Breakdown Your Palette. The workshop and my demonstrations roughly followed the structure of the book. However, having 5 days meant that I could spend lots of time with each student and could encourage them to explore the techniques that best suited their inspiration and personal tastes. It also meant that there was time for the students to dye a 15 piece colour family that coordinated with their printed fabrics. The diversity in their work was truly amazing and inspiring, I feel so proud of what they achieved.

And I’m rather pleased with myself. Yes it was intense and I was rather tired by the Friday evening but I can’t think of a better way to earn my living. The next class is in three weeks ….. can’t wait!

26 May 2019 7.jpg
I love breakdown printing!
6 May 2019 7.jpg

Armed with industrial strength antihistamines, nasal spray and eye drops I am back to being a fully functioning human being. Which meant that I was able to spend last week doing the printing I had planned for Easter weekend. Oh yes!

I enjoy every part of creating my art quilts but the bit I love best is the printing. Especially if it is breakdown printing. Turning white fabric into a big pile of totally unique printed fabric is so, so satisfying.

Of course there was a lot of work involved but I printed about 20 square metres of fabric for my new ‘Print’ series. This will give me more than enough fabric to finish the pieces I have planned for my exhibition at Festival of Quilts. The weather was good at the beginning of the week so I was able to soda soak and dry more white fabric. I made up more breakdown screens, some using black thickened dye and some using print paste. For the first time this year I was able to dry some of the screens outside. Others were dried on top of a radiator. Most screens featured grids but I included a couple of screens that I made by using wooden print blocks to stamp dye onto the screen. (All this is covered in my book ‘Breakdown Your Palette’).

Once I had a stack of dried screens I pinned out fabric on my big print bench and started printing. Bliss! I varied how I printed in order to create a palette of printed fabric that included dark, medium and light fabrics. I stopped to wash, dry and iron the fabrics I had printed every couple of days so that I could check that I was getting the ‘balance’ I wanted. Yes, I even enjoy washing out my fabrics! And it is only time you will ever see a smile on my face when I’m ironing. All-in-all a great week. I can recommend it!


Sometimes I wish there was a second me .....
I stretched some string across the fabric and added some shredded paper. I used an open screen with rust brown and petrol green thickened dyes. The screen picked up pieces of shredded paper as I printed creating a rather chaotic pattern. I didn’t li…

I stretched some string across the fabric and added some shredded paper. I used an open screen with rust brown and petrol green thickened dyes. The screen picked up pieces of shredded paper as I printed creating a rather chaotic pattern. I didn’t like the areas of white, unprinted fabric so used a plastic card to scrap very pale petrol green across the whole piece.

Sometimes I wish there was a second me. Alt-Leah would go with the flow; she would be spontaneous. She wouldn’t have a plan A, B or C and definitely wouldn’t track her hours in the studio. Today is a lovely sunny day so alt-Leah would probably have kidnapped her grandson from school and driven to the coast to play in the sand, paddle in the sea and eat fish and chips out of their paper followed by ice cream. Tomorrow she might spend the day making replacement cushion covers for her garden furniture using the fabrics she printed during the Simply Screen Printing workshop she ran at the weekend. Because they really are rather lovely fabrics. Which isn’t always guaranteed when demonstrating techniques.

Unfortunately there is no alt-Leah, just me with my somewhat ambitious exhibition at Festival of Quilts to make art for. So these lovely fabrics will join an increasingly large pile of fabrics that I can use as teaching samples. But I can at least give them an audience! And, of course, there was the wonderful work my students did!

This piece was printed using a thermofax screen and screens made using positive and negative sticky back plastic resists. Again I used rust brown and petrol green thickened dyes and killed the white space with a layer of very pale petrol green.

This piece was printed using a thermofax screen and screens made using positive and negative sticky back plastic resists. Again I used rust brown and petrol green thickened dyes and killed the white space with a layer of very pale petrol green.

In this one I used masking tape to add a resist to my screen. I used the screen to print on top of crumpled fabric. After each print I moved the screen and carefully transferred the textured dye that had clung to the back of the screen onto this pie…

In this one I used masking tape to add a resist to my screen. I used the screen to print on top of crumpled fabric. After each print I moved the screen and carefully transferred the textured dye that had clung to the back of the screen onto this piece of fabric. Difficult to explain but a great technique. Same colours and again finished with a layer of very pale petrol green.

This was the piece of crumpled fabric that I printed onto. It gets a bit messy as you rearrange the fabric in-between each print. I got distracted when I was printing this and stopped too soon. There was lots of white fabric so I added a layer of in…

This was the piece of crumpled fabric that I printed onto. It gets a bit messy as you rearrange the fabric in-between each print. I got distracted when I was printing this and stopped too soon. There was lots of white fabric so I added a layer of intersecting lines using a thermofax screen. Same colours and same final layer.

Top left: Val Lewis breakdown printing. The screen was made with black thickened dye and she is pulling through with a slightly muddy golden yellow.

Top right: Val again, she used a thermofax screen and great colour control.

Bottom left: Pat Allen’s breakdown printed fabric. The screen was made with a black grid and objects embedded in turquoise dye.

Bottom right: Hilary Fidler using a plastic card to add a final layer of pale colour. Her first layer used an open screen on fabric that had shredded paper and paper circles scattered it. Her second layer was thermofax motifs in a mustard yellow.

Hooray for Plan B!
22 April 2019 2.jpg

I had a wonderful Easter weekend planned. The weather forecast looked great. Perfect weather for breakdown printing. And so I soda soaked a big pile of fabric and made up some screens to get me started. Brilliant.

22 April 2019 1.jpg

But things don’t always go to plan. On Wednesday afternoon I had a massive hayfever attack that just kept on going into the weekend. I have had hayfever since I was a child although it has become less severe as I’ve got older. And (you will not be surprised) I plan for it. I start taking antihistamines each day from 1st March and these are normally enough to keep it at the ‘snuffly’ nose level through the spring and early summer. This year I got caught out with my first attack in late February so will start taking antihistamines from the beginning of February next year. But even taking extra antihistamines this weekend didn’t help. Which has been very annoying!

Some people might just take time out but I have an exhibition to get ready for. I knew that it would be hopeless trying to print but I always have a Plan B. That is the joy of working in series and of working on multiple pieces at once. So, in between spells lying down in dark room calming my nose and my breathing down, I have been doing what I call ‘quiet’ work on one quilt. Sat down, drawing out shapes then fusing on hundreds and hundreds of circles. And have been stitching down facings on another quilt. I track my time in the studio and can see that I lost 13 hours compared with the previous week but at least I have achieved some things by switching from Plan A to Plan B! Hooray for Plan B!

22 April 2019 4.jpg
Teaching and learning
Work in progress by Maggie Pearson

Work in progress by Maggie Pearson

In my old life I used to do spend some of my time training people how to use particular pieces of equipment or how to carry out specific tests. I knew the equipment and tests inside out. There was always a correct and incorrect method. A needed to be followed by B which needed to be followed by C etc. With experience I learnt to pass on the information more effectively but it was always the same information.

Teaching surface design is very, very different. Yes, there are a few rules that have to be followed if you want the colour from your Procion dyes to fix to your fabric. (Always remember soda + moisture + heat + time). And I do supply my students with sets of recipes that they can choose to follow rigidly (or not!). But pretty much everything else is about personal choice. There are no rights or wrongs, just choices. So my role as a teacher is that of an ‘enabler’ providing encouragement and support. And I am still learning how to be a good teacher. The more classes I teach; the more students that I spend time with, the more I am learning to tailor my support to fit different needs. My students tell me that I am very well organised - writing class notes, preparing lots of samples, labelling all the cupboards is stuff that comes easily to me. Learning how to nurture the creative process in others is harder but so very satisfying!

The other difference is depth of knowledge. Or in some cases, lack of depth. I have spent hundreds of hours over the years screen printing (especially breakdown printing) and dyeing and, although there is always more to learn, I can teach with confidence. But there are some areas of surface design where I have not spent hundreds of hours, where my skills are a little ‘wobbly’. Of course I rehearse before class but the reality is that I will be learning just as much as my students. I facilitate, I enable and, in return, my students inspire me. Which is actually kind of wonderful!

Evolution part 2
7 April 2019 1.jpg

Time to get real ….. I’ve auditioned fabrics and stitched some samples but now I need to commit to a ‘proper’ piece. And for me that inevitably means a large scale piece. Time for a quick drawing on a scrap of paper to work out exactly what size and I’m off!

7 April 2019 2.jpg

First I take all my beautiful breakdown printed fabrics and cut them into rectangles. I don’t ‘cherry pick’, I just cut everything up. I take the cut pieces and jumble them up then close my eyes and pull them out one by one ready to lay them down in rows on my big print bench. I try to make this process as random as I can. The control freak in me would agonise over this part of the process and would inevitable produce a background that would not be as interesting as when I let serendipity happen.

7 April 2019 3.jpg

I sew the pieces together into long rows and put them up on my design wall. I like to leave the rows up there for a while and allow myself to change a handful of pieces to balance the colour and composition of the background. Just a handful - I do not give in to the temptation to change too many pieces!

I then prepare my backing fabric and my wadding (I use acrylic felt as I like how flat it is). Having cut them to size I use an adhesive spray to stick them together. I draw parallel lines, 2 inches apart, on my wadding and use a ‘stitch and flip’ process to sew my rows together and to the backing in a single process. This way I can ensure that my rows are sewn together accurately. Yes, I fully embrace my inner control freak for this part of my process! And it has the advantage that I don’t have a separate basting stage. I have always hated basting quilts!

I now have my background. It is ready for me to add what I call my top structures and to add stitch. As with my Ruins series I am stitching lots and lots of parallel lines in my new Print series. I can’t image not adding stitch but at the same time I don’t want the stitching to distract from the fabrics. Simple lines seems to work well with fabrics that contain so much detail. In one of my samples for this series I stitched a word as my top structure. I’ll probably use this idea for one or more of the pieces I will make in this series but for this first piece I had a light bulb moment and have gone in a different direction. And it is a direction that could not be sampled on a small scale piece. Yes my ‘sample’ is 290cm wide by 100cm high and is going to have a prime position in my upcoming exhibition so you only get see these work in progress shots!

There is a saying that fortune favours the brave …. I’m certainly hoping so!