Posts in Working In Series
Back to work Leah!
RUINS 9 Detail.jpg

My focus for the last 5 months has been on teaching - developing workshops, refitting my studio and, finally and wonderfully, greeting my first groups of students. But I was an artist before I was a teacher and now I need to get back to making art.

Fortunately for me I have a great big carrot - a solo exhibition at next years Festival of Quilts. Installation will be on the 31st July. Which is 314 days away. Only 314 days away. Oh heck.

The exhibition will be titled Deconstructed and will be a continuation of my obsession with breakdown printing (also known as deconstructed printing) and industrial heritage. When I put together the proposal about a year ago I knew exactly what I wanted to do with one half of the exhibition - new pieces in my Ruins series that will reference the cotton industry once so important to Manchester (where I live). But I was, and still am, a bit more fuzzy about the other half. I haven't has much time since then to work on my ideas. That needs to change.

Over the next few weeks I will printing a whole bunch of 'ruins' fabrics. I'm hoping that this will ease me back into artist mode. 314 days and counting! oh heck!

Fully stretched
7 April 18 1.jpg

With the Stockport exhibition opening on 26th May it has been full on production at Studio Leah this last couple of weeks. I have been finishing a collection of 10 panels, each 40cm x 100cm, and each referencing a specific coal pit from the Lancashire and Manchester coalfields. These are part of my Traces series inspired by industries and industrial structures that no longer exist; that have been wiped clean from our landscape. Each piece is finished by stretching over a deep canvas. To help achieve crisp corners I did not use any wadding. Instead I fused two layers of cotton together which gave me a good firm surface to stitch on and a fabric that did not skew and distort as I stretched it over canvas. A few people have asked how I do the stretching so here we go.

I use stretched canvases rather than stretcher bars as the canvas manufacturer has done all the hard work by stretching the canvas onto the frame. All I'm doing is wrapping my piece around it - I am not really 'stretching' the work. Looking at the above photos from top left to bottom right:

  • I prepare the canvas by adding double sided sticky tape to all four sides of the canvas and to all four edges on the back of the canvas. If I were stretching over a standard (narrow) canvas I wouldn't bother with tape on the sides.
  • I position the canvas on the back of my piece and mark around it with a pencil. I then trim my piece such that there is enough left to wrap around the edge of the canvas - in this case my canvases were 1.5 inches deep so I trimmed to give 2.5 inches all around. I also trim away part of the corner section to reduce the amount of 'bulk' at the corners. I leave about 3/8th inch of the corner - look at the photo to see. This leaves me with a 'flap' on each side.
  • I spray the front of the canvas with a little 505 basting spray and re-position on the back of my piece. The spray is just there to prevent the canvas slipping. With one long edge facing me I remove the paper strip from the double sided tape on the side of the canvas and start lifting my flap up onto it. I start from the centre and work to towards the corners. You don't need to pull hard, just enough that the piece is a snug fit to the side of the canvas. 
  • I then remove the paper strip on the back of the canvas and flip my flap over and down working from the centre out towards the corners. Again you don't need a lot of force. Once in place I finish by adding some staples. You don't need many as the tape does most of the work. I repeat this process on the other long edge.
  • This is the most important part and probably the hardest to describe! I tend to get on my knees so that the short end of the canvas is at my eye height. I remove paper strips from both the side and the back of the canvas. I turn the excess fabric (that 3/8th inch) from the side wall of the long side of the canvas around onto the side wall of the short side and stick it to the tape. As you turn this edge it naturally turns the edge of the short edge flap under. I then lift the short edge flap up and over the edge of the canvas tucking in the excess from the top of the side flap as I go. I pull the flap tight and fix in place with a couple of staples. I repeat at the other corner. I then go along the short edge lifting and sticking down the rest of the flap. I do the same for the other short edge.
  • Because fabric can fray, and because I am a neat freak I finish my canvas by adding a linen effect self adhesive tape over the fabric edges on the back of the canvas. I then sign the back of the canvas and add a business card.

I love the finished effect, particularly how the stitched lines fold around the edges. And using deep canvases meant that I could stitch the name of each piece onto the side edge. I can't wait to see all 10 hung together!

Now you see it, now you don't!
14 Jan 2018 7.jpg

In my last post I shared the breakdown printing technique I use to put colour and texture onto my cloth. This series of work is inspired by industrial structures that once littered our landscape but now rarely exist outside of memories and museums. Their impact on the landscape has faded; has been built over. So for my cloth, having put down a layer of colour, I now strip most of that colour back off. Here is how.

14 Jan 2018 1.jpg
14 Jan 2018 2.jpg

Using a steam iron I crumple and crease my fabric. I am trying to create an uneven surface that acts as a resist to the discharge solution. I use Formosol dissolved in warm water and apply with a 'dry' brush. I don't want to flood the cloth. I leave the cloth to dry overnight then use a steam iron to activate the Formosol and remove colour. This bit is rather noxious. Ideally you should use a gas mask but I find ironing near an open door with a stiff breeze is effective. I use the iron as a tool, selectively applying heat so that I get different levels of discharge. The 'black' dye I used to print the cloth is actually a blend of a blue-black dye and a dark brown dye. When I discharge the colour strips away to leave a yellowish brown that rather looks like a nicotine stain. 

Once I'm happy with the level of discharge I wash my fabrics at 60C and they are ready to use. Or not. Sometimes I over-do the discharge process and end up with a piece of fabric that is too pale. Sometimes the colour discharges to more of a red brown. In both cases I resist the temptation to throw them in the bin. Instead I add another layer of breakdown printing and another layer of discharge. 

Now you see it ...
30 Dec 2017 9.jpg

Some people get nervous about sharing their process / techniques. I don't. Mostly because I use methods that do not give exact, reproducible results. Every screen I pull is different. Although years of experience do direct my work it is the serendipitous nature of breakdown printing that makes each piece of fabric unique. 

Over the last few weeks I have been printing fabrics for a series of work inspired by those industrial structures that no longer really exist - brick kilns, pit winding wheels for example. I have been printing in one colour - grey - but some of the fabrics have picked up traces of rust from some of the metal objects I use to make my screens. I start by adding a small amount of thickened dye to the back of a screen. I spread the dye using brushes, foam brushes or rollers but leave the coverage rather uneven. 

I then use my wonderful collection of 'things' to embed into the dye. I keep some screens specifically for use with metal brackets, buttons etc as over the years they have got rather rusty. 

I use different size screens but in the winter, when the screens have to dry indoors, I make sure to only use a thin layer of thickened dye and to use small screens. I would rather clean and make up more screens than pull a screen where the dye has flowed into blobs before drying. Fellow breakdown printers will know what I mean!

Once the screens are completely dry I take off the embedded objects. And yes, I wash them every time. Sometimes I print the screen as is. Other times I use torn masking tape to create wells around the screen. Using torn masking tape breaks up the edge of each print. Having pinned my white, soda soaked fabric to my print bench I print the screen using thickened paste. As I want pale, delicate marks I tend to dump out unused paste if it picks up dye from the screen and replace with fresh paste.

I aim to apply different patterns / textures across the cloth so don't have to worry about composition. Using multiple screens means that I don't get too much pattern repeat. I let the fabric become touch dry before rolling up in plastic and leaving overnight to fix the dye. The fabrics are then washed and dried ready for the next process.

Knowing when to stop.
17 Dec 2017 1.jpg

Earlier this month my Cloth in Common fellow artist Lisa Walton posted on Facebook that she was giving up on a piece. She wrote 'Sometimes you have to admit defeat. I’ve had an idea for a quilt in my head for months. Very different style and techniques for me. I tried and tried and tried but yesterday I gave up. It was worth a try but too far from my comfort zone'. Now Lisa is an extremely talented and experienced textile artist and, I'm guessing, had tried to work through problems with the piece before admitting defeat. But I was surprised by the percentage of people who responded with comments along the lines of 'don't give up / you can do it'. And I wondered about whether the balance of responses would be the same if Lisa worked with paint and canvas?

Is it the muddy distinction between art, craft and hobby when working with cloth and stitch that makes throwing work away an anathema to many people? I bet every quilter on the planet knows what a UFO is (and has a box full of them).

This is a discussion I've had with many friends. I found it amazingly liberating a few years ago to get rid of all the commercial fabric I knew I was never going to use, all the dust covered unfinished quilt tops and all old finished quilts, cushion covers, patchwork bags etc that I knew I was never going to show to another living soul. A lot of fabric, a few unfinished projects and a couple of finished pieces were taken by friends but the rest went in the bin. I kept and over-dyed the larger pieces of fabric to use for backing and bindings but that was it. Why - because my work has moved on. And when I work in my studio today it is always 'with intend' and never just something to fill my time.

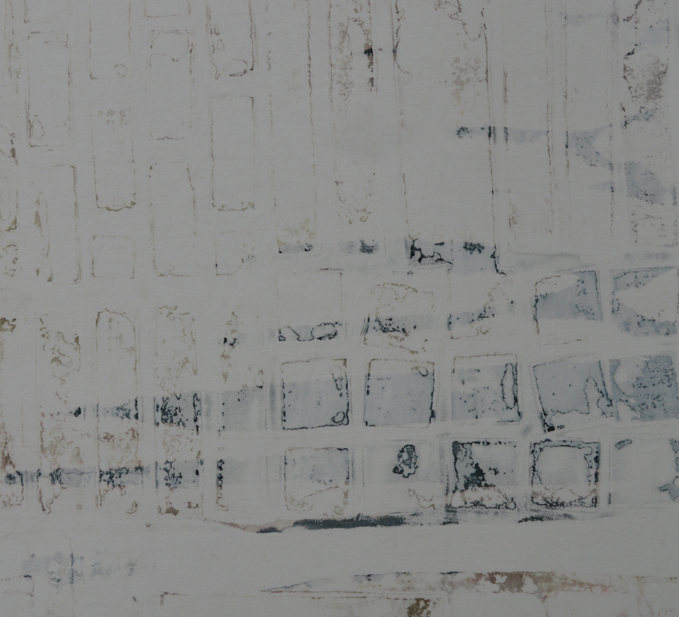
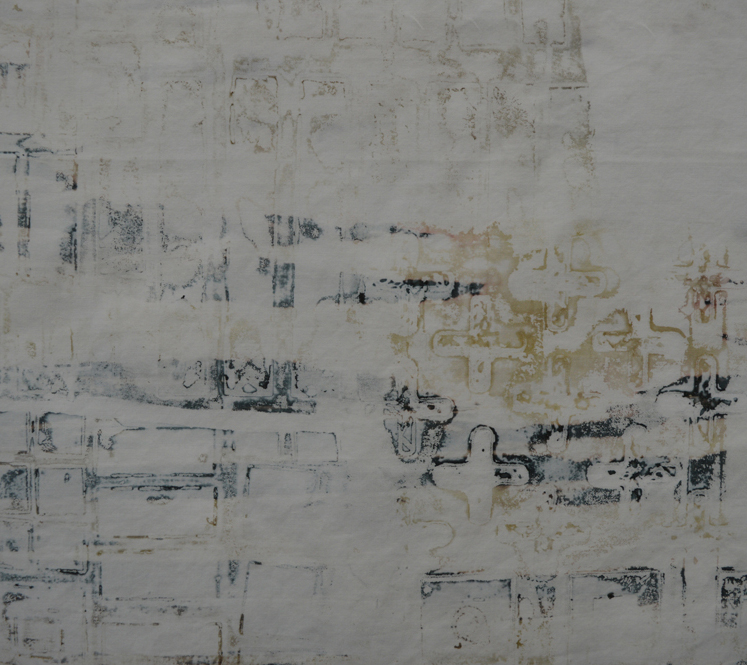
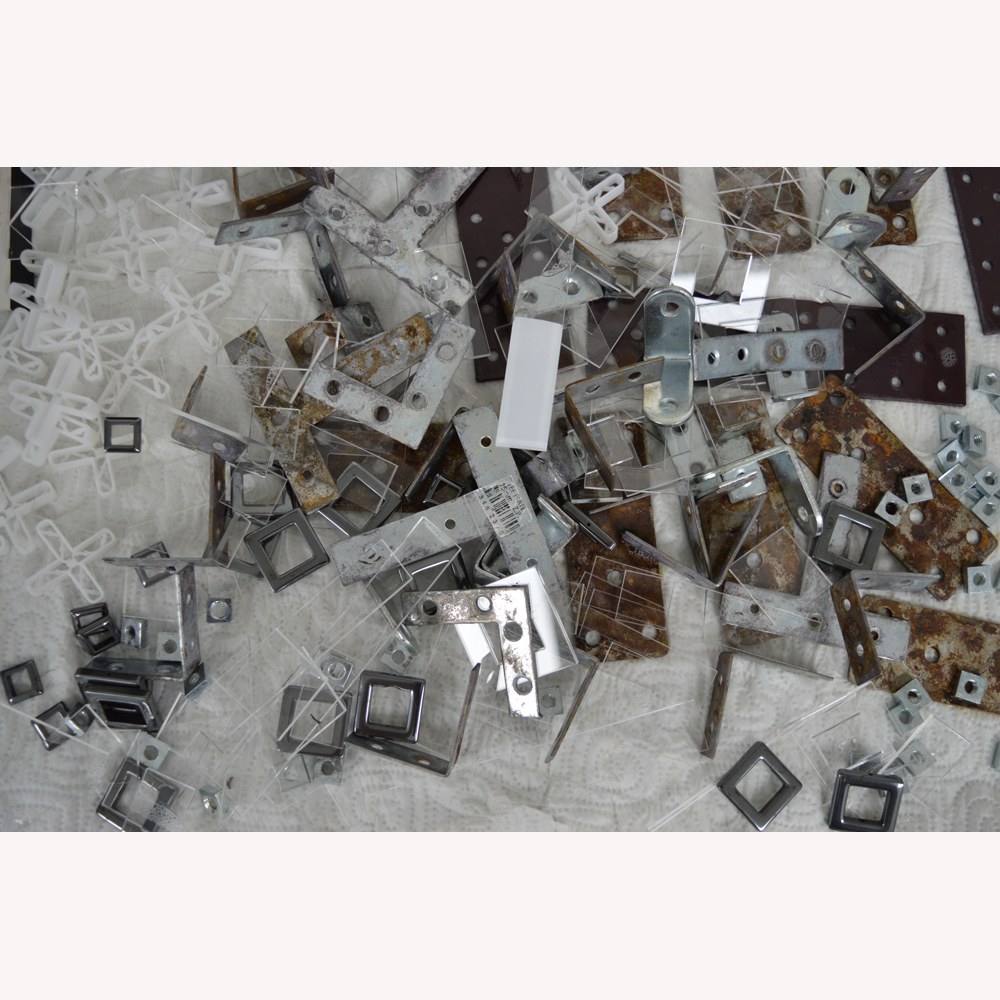
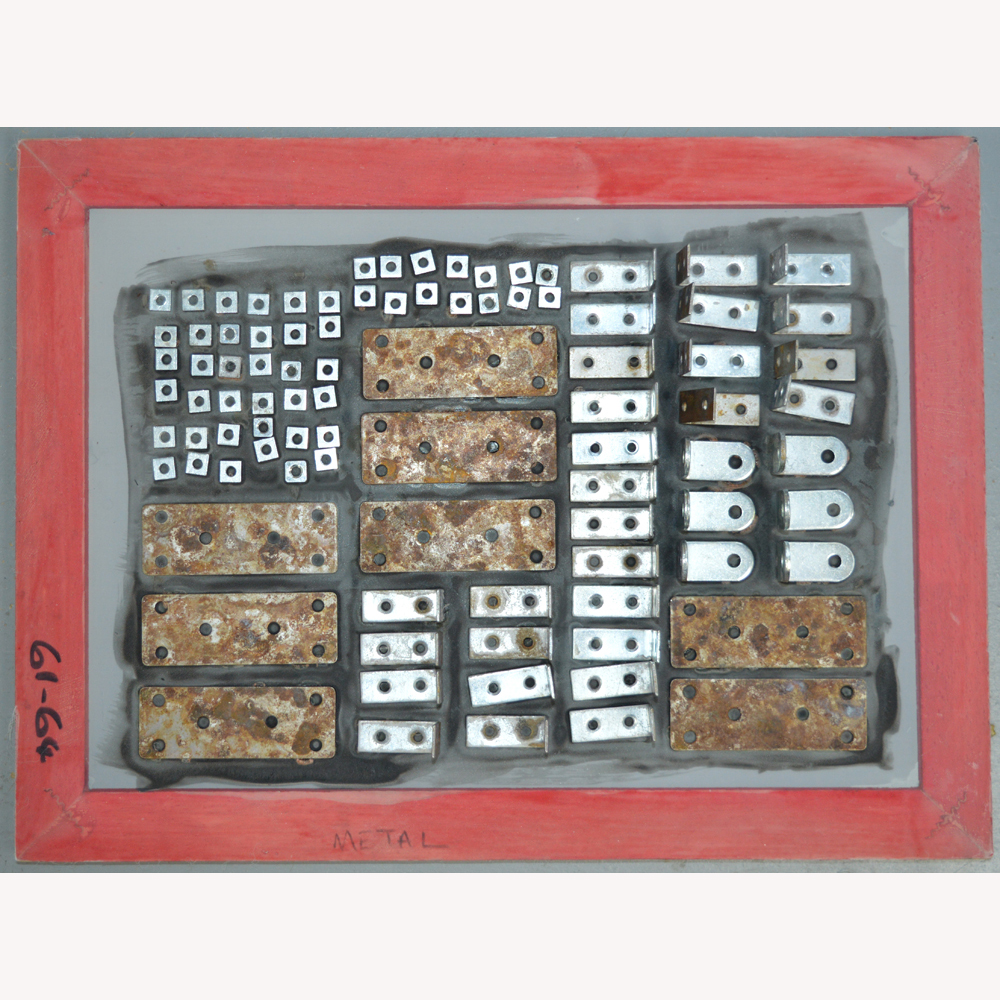
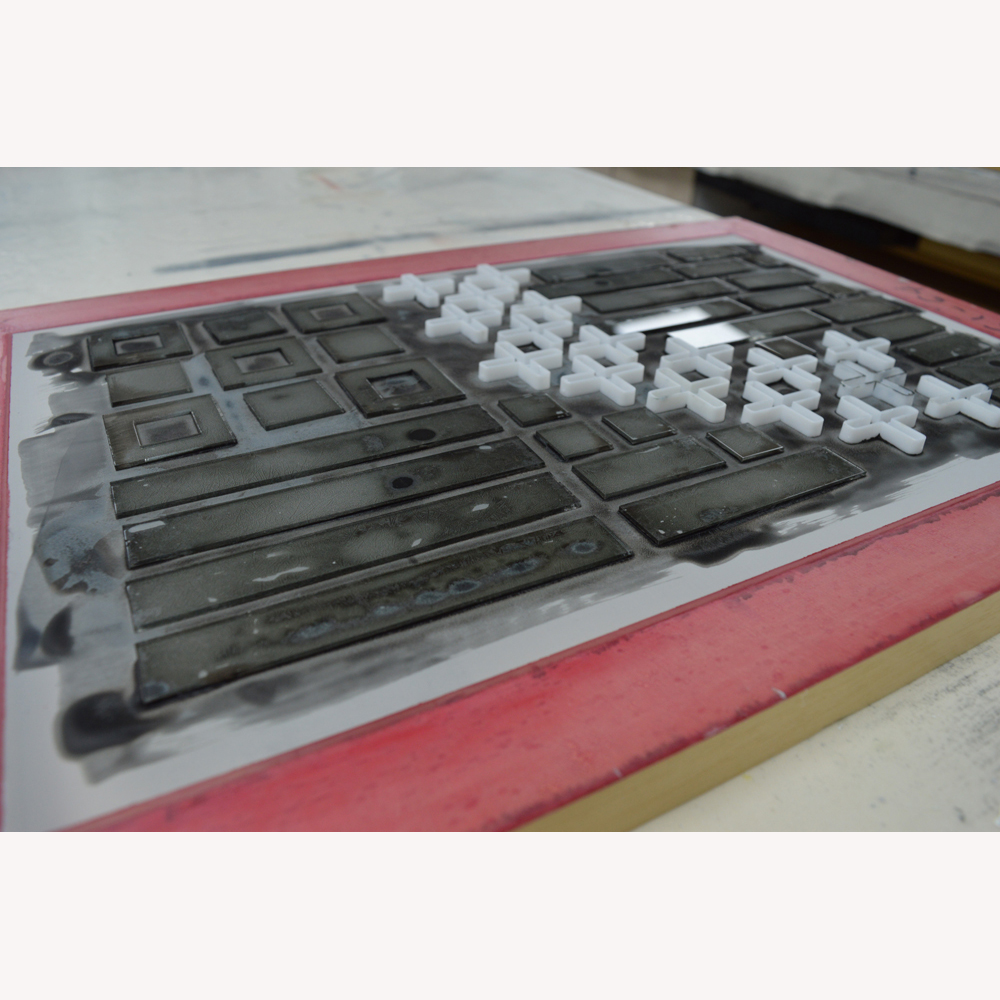
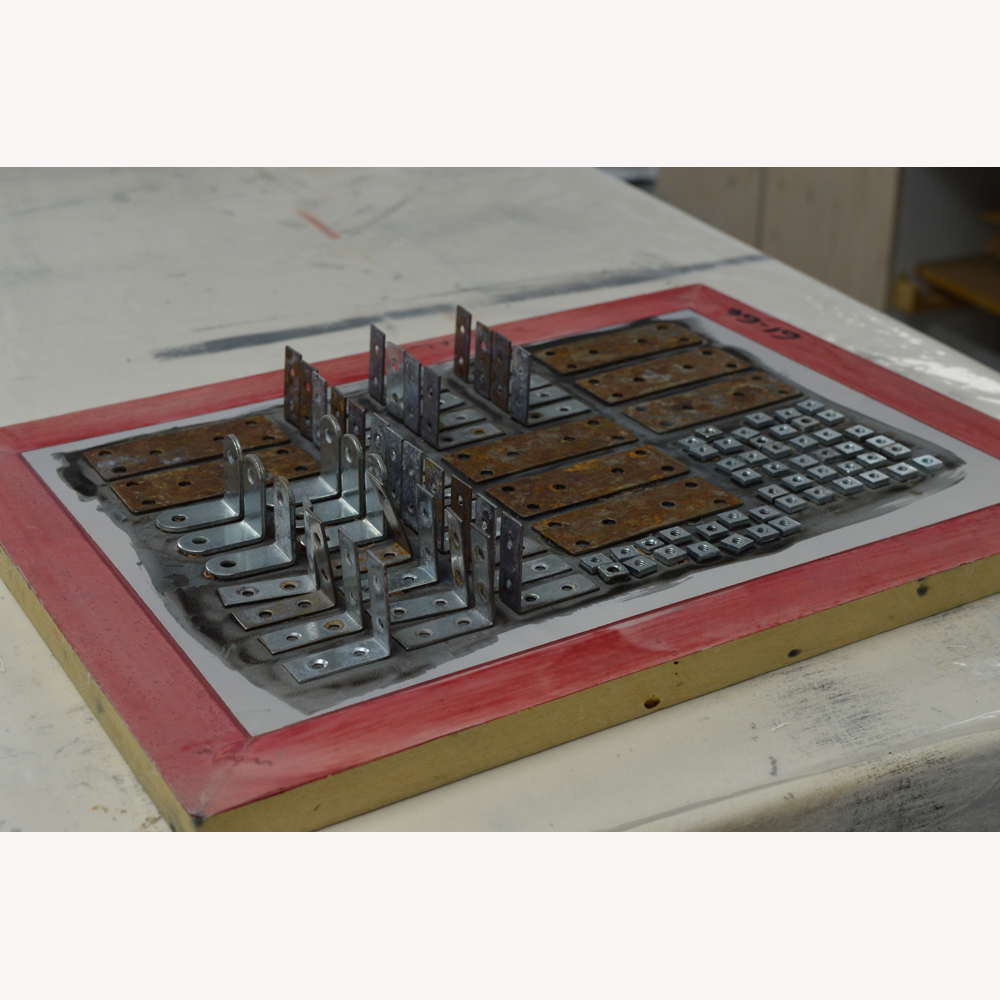
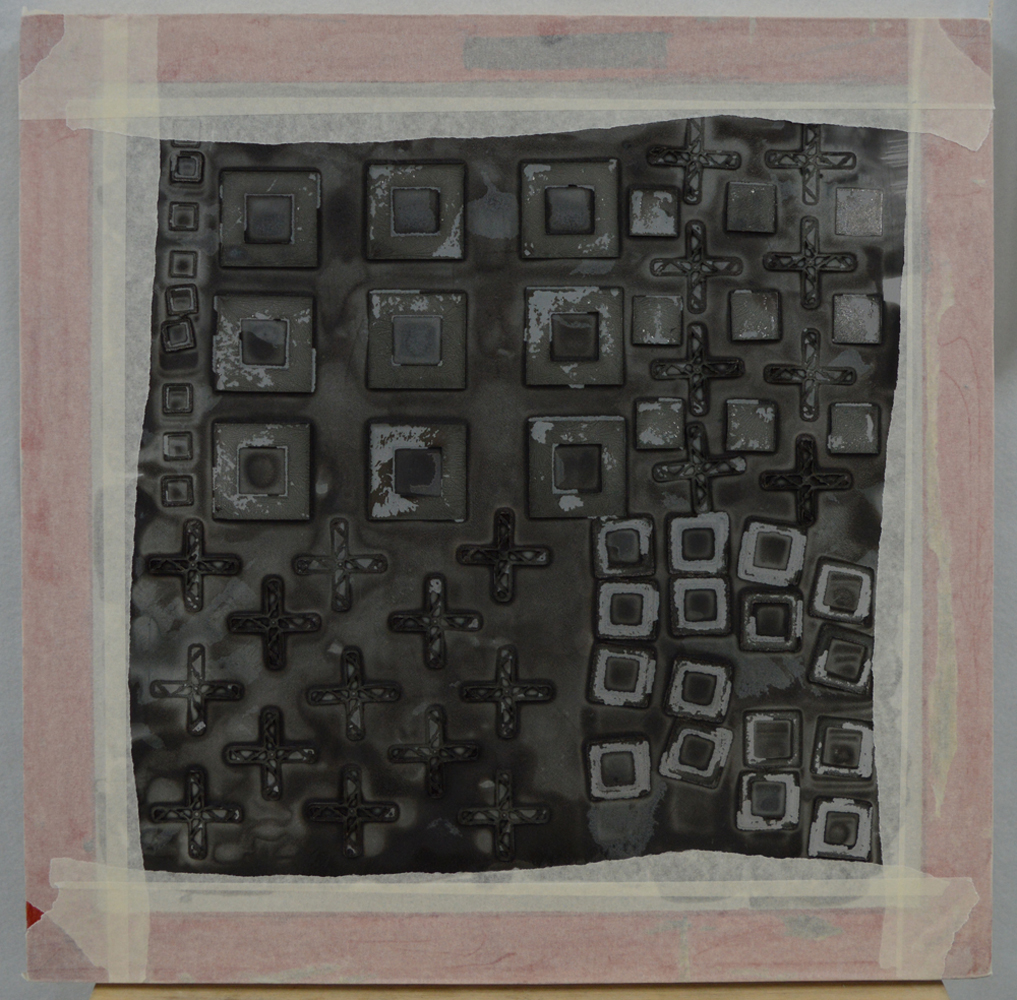
Developing new work is not a straight path; it is trial and error and there are always casualties. Sometimes my first attempts at printing cloth are just plain ugly. They make great Facebook posts but if adding more print or discharging them doesn't recover them then they need to go. If the pieces are small they go in the bin. If not they get recycled as backings. Sometimes the samples I make don't work. Which can be frustrating if I've spent hours on them but sampling is a really important process for me. It allows me to fine tune my ideas. So no wonder that samples get thrown in the bin.

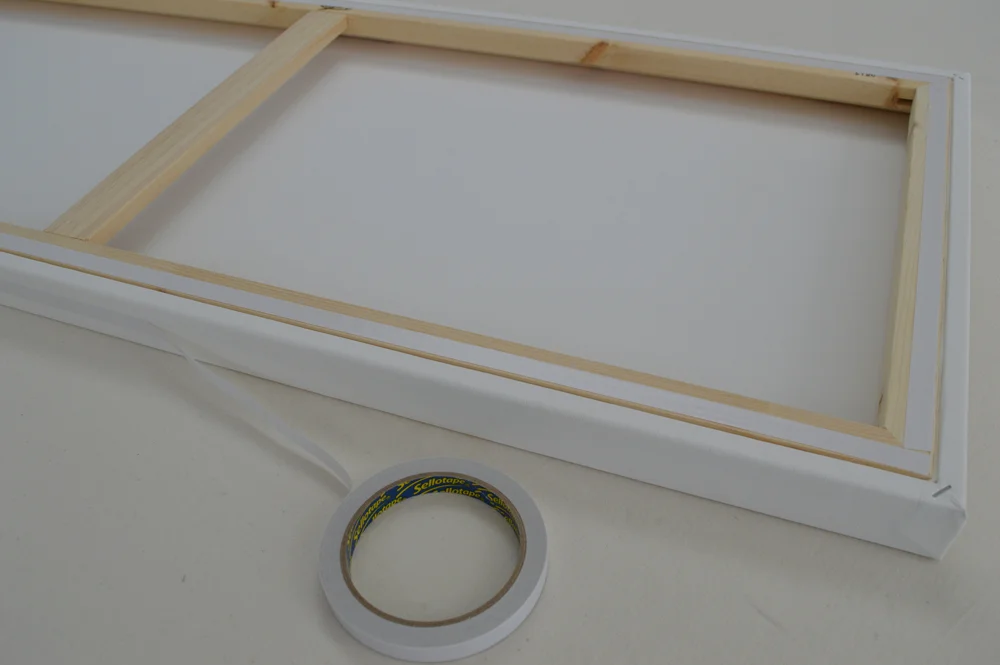
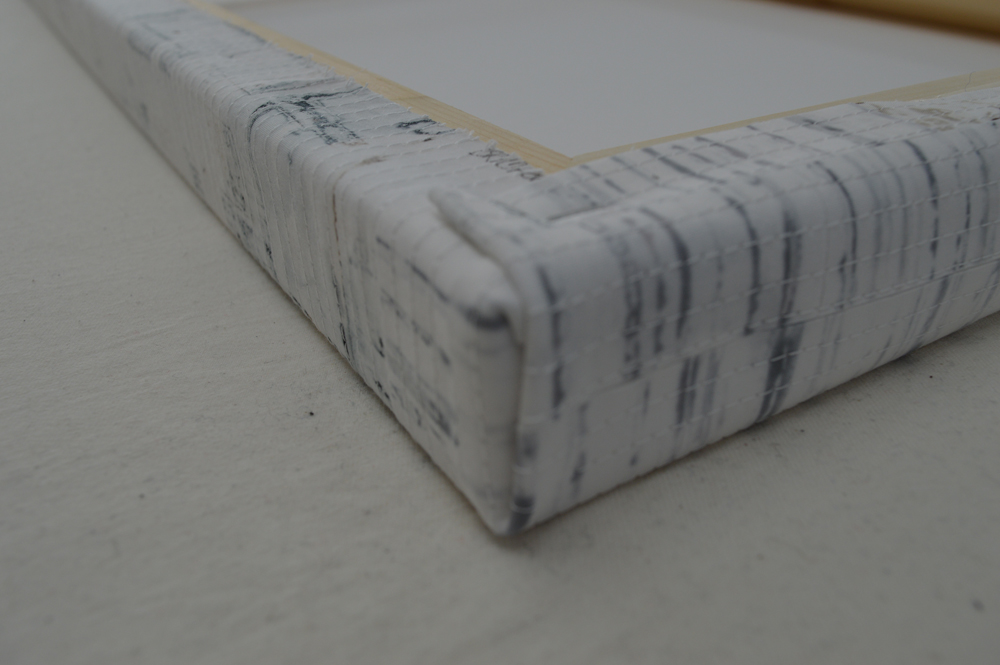
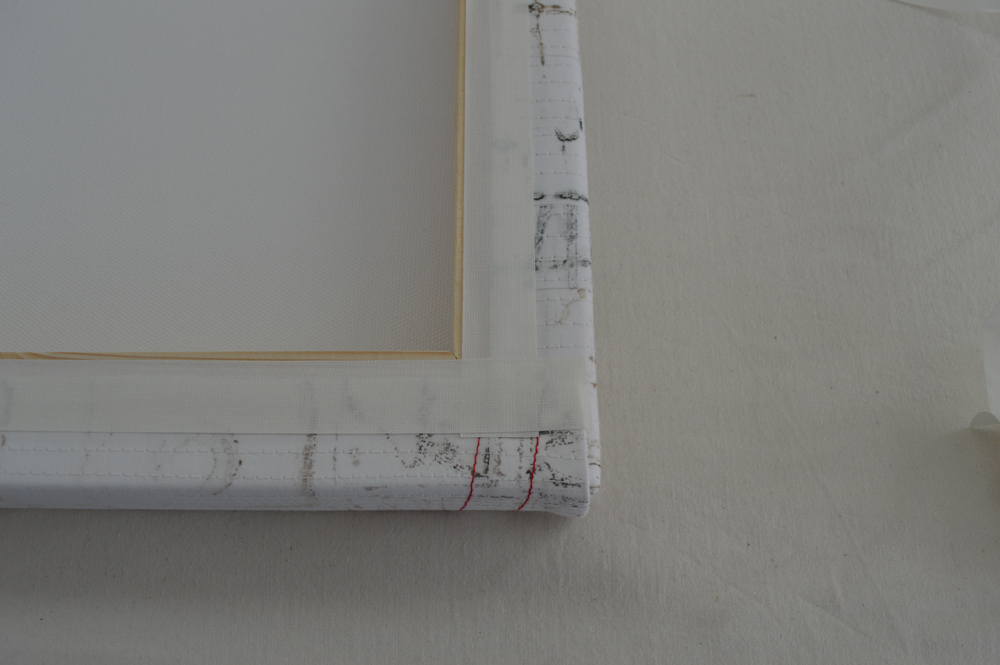
And then there are finished pieces. I like working in series because it allows me to dig deep and really develop my ideas. But the reality is that not all pieces in a series make the grade. Some pieces go wrong part way through. And some just don't have the 'wow' factor when they are finished. I have a large piece that I had been making to submit to the European Quilt Triennial that isn't working. The sample I made worked. A smaller piece I made in this new series worked. But not this one. After 50+ hours work I have admitted defeat. And used my precious studio hours on another new piece (details photographed) that is working. 

17 Dec 2017 2.jpg
Small Art and working in batches

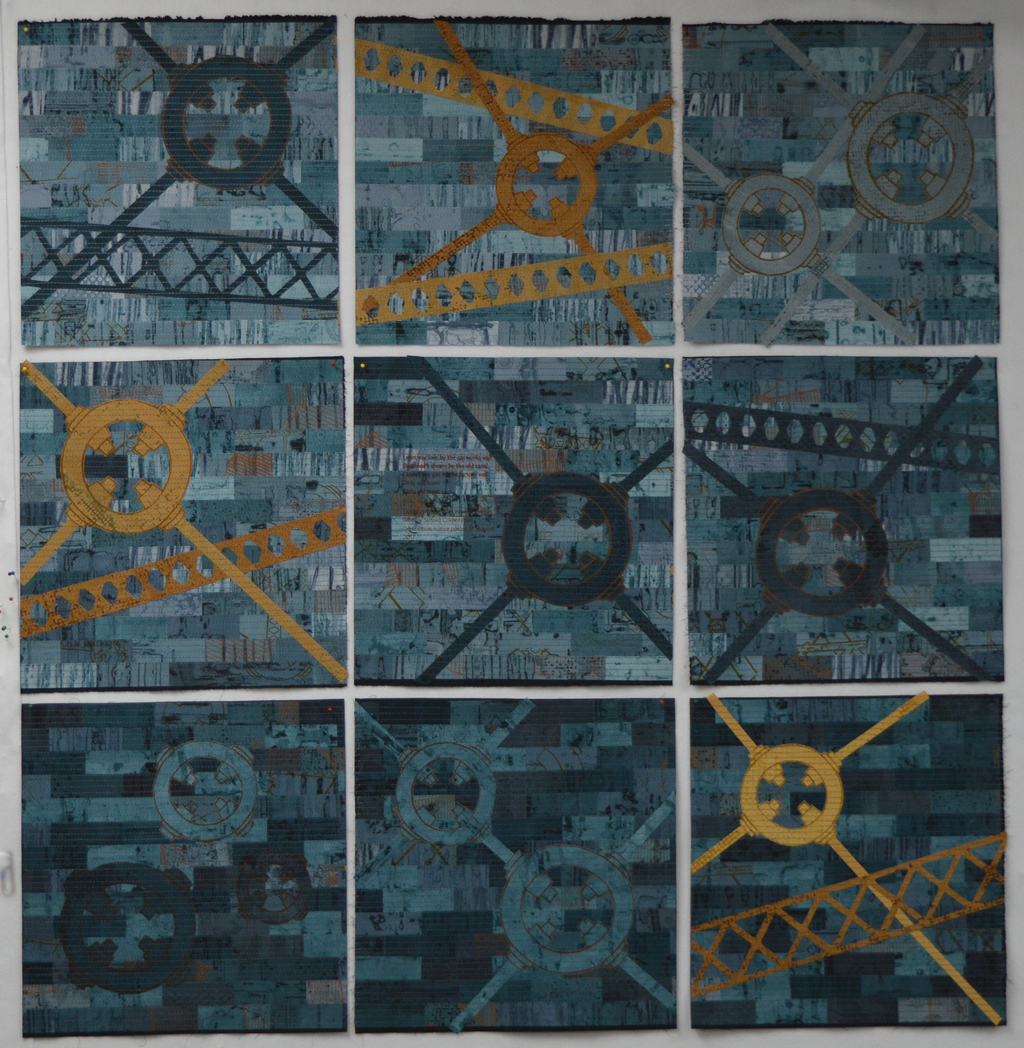
Those of you that follow my blog regularly will know that I made a very definite decision several years ago to always work in series. Doing so has helped me to develop as an artist - I spend a lot of time up front working on colour and on creating a palette of cloth but once I have that palette I am free to develop my ideas as I move from one piece to the next. And for my large pieces I do tend to get one to the finishing stages before starting work on the next. Many of my pieces are three metres wide or more. I am blessed with big print benches and a big design wall but it is not really practical to try to compose two large pieces at the same time.

Some of you will also know that I have struggled to make small art .... my ideas always want to be BIG. But with two exhibitions scheduled for 2018 I knew that I needed to stop struggling and start making. Hence my 100 (week) day challenge in which I committed to spending 2 hours each week day evening working exclusively on small art. And after 70 days I can declare the challenge a success! I am now comfortable taking the ideas, colours and palettes of cloth used in my large scale pieces and working with them on a (much) smaller scale. But, just as importantly, I have really enjoyed making 'batches' of work. I am half way through stitching 18 pieces that will each be 12 x 12 inches when finished. I worked on the composition of all 18 at the same time. Each piece has to work on its own but what really excites me is seeing them layed out in a grid. The common colours and repeated use of shape is very powerful and has got me thinking about the power of repeat and how I could use it in a large scale piece. Which is a good if un unexpected bonus!

Life's bumpy road

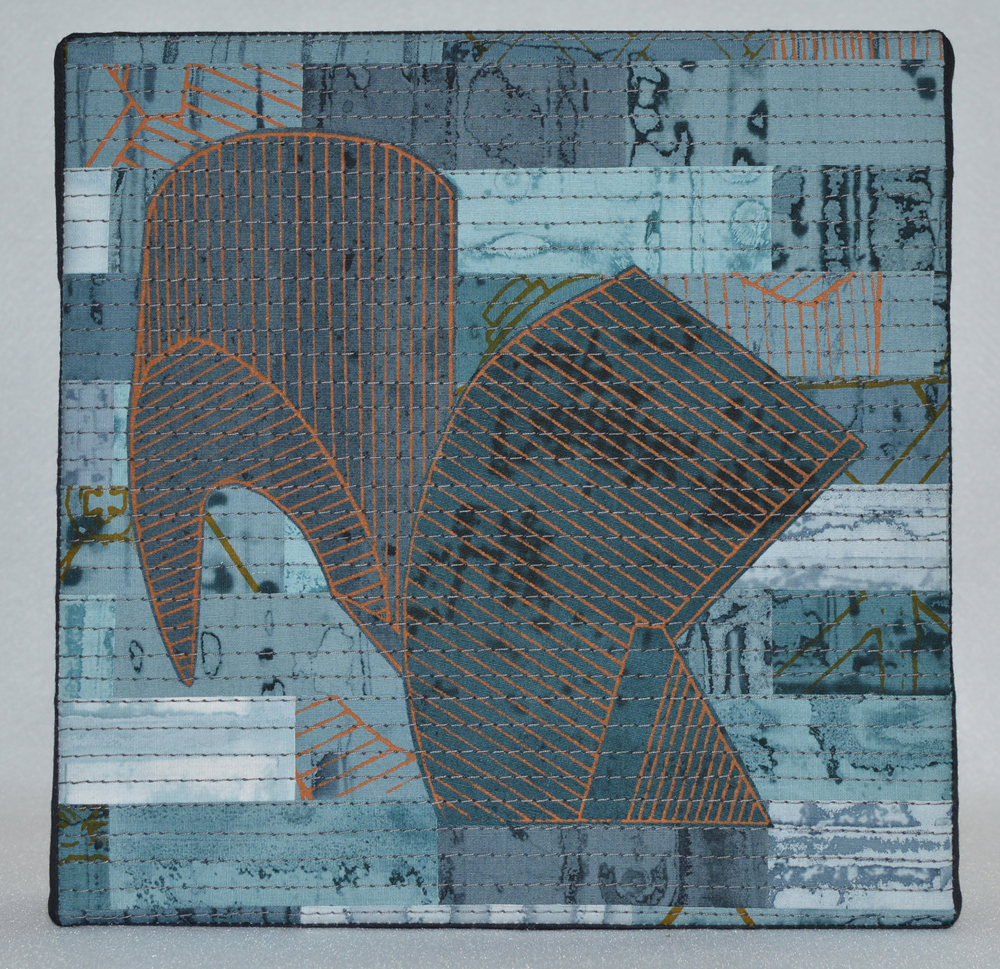
It is 4 weeks since I restarted my 100 (week) day challenge and time for an update. After completing 40 days I decided to take a two week break – family stuff plus Festival of Quilts made it pretty impossible to hit my target of spending two hours every week day evening working on small art.  I was, and still am, absolutely determined to keep going however it has not been an easy 4 weeks.

Life has thrown the Higgins family a couple of curve balls. On Day 41 I left my day job. There was always a risk that it wouldn’t work out but it was still disappointing and frustrating. Having been made redundant the previous year I had made sure that I could afford to be out of work again. But the thought of looking for another job was depressing and left me feeling very sorry for myself. Then on Day 44 we learnt that my mother-in-law was seriously ill. Which put the lack of day job into perspective. Now being ‘between jobs’ is a good thing – we are able to visit nearly every day and support my father-in-law as he cares for Joan at home. People who know me will know that I don’t do ‘nursing’ but I can bake cakes, make brews, hold hands and taxi people around. And help my husband spend as much time as possible with his mum.

Being ‘between jobs’ (so much nicer than being ‘unemployed’) means more time in the studio, at least in theory. In practice, it has been really hard some days to drag myself the 30 feet from our back door to the studio but my 100 (week) day challenge is a good motivator. I will admit that some sessions have been in the morning rather than the evening but getting into the studio is good for me. It is my space, it calms me. And I am incredibly lucky to have it. So here is my update:

  • Day 41: 2 hours - started to stretch the Canal Street pieces over canvas.
  • Day 42: 2 hours
  • Day 43: 2 hours
  • Day 44: 3 hours ... all spent finishing and photographing the 20 Canal Street pieces.
  • Day 45: 2 hours - stitching Kilns 5.
  • Day 46: 3 hours - finished Kilns 5 and fused the background for Kilns 6
  • Day 47: 2 hours - stitched Kilns 6.
  • Day 48: 2 hours - trimmed and added facing strips to the 6 Kilns pieces.
  • Day 49: nope, just too sad.
  • Day 50: 2.5 hours - stretched the 6 Kilns pieces over canvas and photographed.
  • Day 51: 3 hours - added accent stitching to the Bold Colliery pieces.
  • Day 52: 1.75 hours - finished and photographed the 8 Bold Colliery pieces. These will be put in conventional frames at a later date.
  • Day 53: 2 hours - getting fabrics ready to make a series of 12 x 12 inch pieces based on the Gas Works in Salford.
  • Day 54: 2 hours - adding bondaweb to fabrics and cutting into lots and lots of 1 x 3 inch 'brickettes'.
  • Day 55: 1 hour - preparing the backings ready to build my background 'walls'.
  • Day 56: 1.25 hours - started fusing my walls.
  • Day 57: 1.5 hours
  • Day 58: 1.5 hours ... both spent fusing walls.
  • Day 59: nope, emergency taxi service instead.
  • Day 60: 3.5 hours - finished building walls, I have enough for 18 pieces of small art.

Quilt-Art-Quilt

It has been a quiet year for submitting work as everything I do is focussed on my two exhibitions in 2018 so it was very nice to be able to submit an older piece to Quilt-Art-Quilt. And even nicer to be selected! Ruins 1 will be travelling to Auburn, New York for the exhibition at the Schweinfurth Art Centre. Exhibition dates are 28th October to 7th January.

I wish there were more opportunities to show pieces in more than one exhibition. Like every artist I would like to sell more of my work but the reality is that a lot of pieces just get stored away indefinitely after one public outing. Which seems a shame.

This week I have also resumed my 100 (week) day challenge working on small art for 2 hours each week day evening. It has been a good first week back - I managed 2 hours every evening except on Thursday where I managed 3 hours. I spent most of that time finishing the 20 small Canal Street pieces. Each is 8 x 8 inches and stretched over canvas. I'm now working on the 12 x 30 inch Kilns pieces. Busy, busy, busy!

100 (week) day challenge update

I've completed 35 days / 7 weeks of my challenge and I'm really happy with my output but it still feels like hard work making myself go to the studio some evenings.

Today I have spent 6 hours at my sewing machine sewing hundreds of parallel lines on my latest large scale Ruins piece. And I have enjoyed every minute of it. Tomorrow evening I will be stitching parallel lines on the last of the small Canal Street pieces for next years exhibition and it will feel like a chore. Same process but on very different scales. I don't need a psychiatrist to tell me that my heart still wants to work BIG. But those small scale pieces are necessary - if only because they are more affordable. So I will keep going. Maybe when I get to 100 hundred days I will have fallen in love with working small ....

  • Day 26 - 1 1/4 hours making thermofax screens.
  • Day 27 - 2 1/2 hours finishing thermofax screens and starting Fragments pieces.
  • Day 28 - 2 3/4 hours spent collaging 6 Fragments pieces ready for stitch.
  • Day 29 - was out in the evening with the day job but still managed 1 1/2 hours - go Leah!
  • Day 30 - Oops, had to spend two hours labelling and packing quilts to send to Festival of Quilts.
  • Day 31 - 1 hour spent on layouts for the exhibition at World of Glass (I have more than enough small pieces, yes!) and 1 hour spent stitching.
  • Day 32 - 2 hours stitchin'
  • Day 33 - didn't happen, hot and stuff day so gave in to the temptation that is ice cream and a good book.
  • Day 34 - 2 1/2 hours stitch'
  • Day 35 - 2 1/2 hours stitching and adding little red accents to the Fragments pieces.