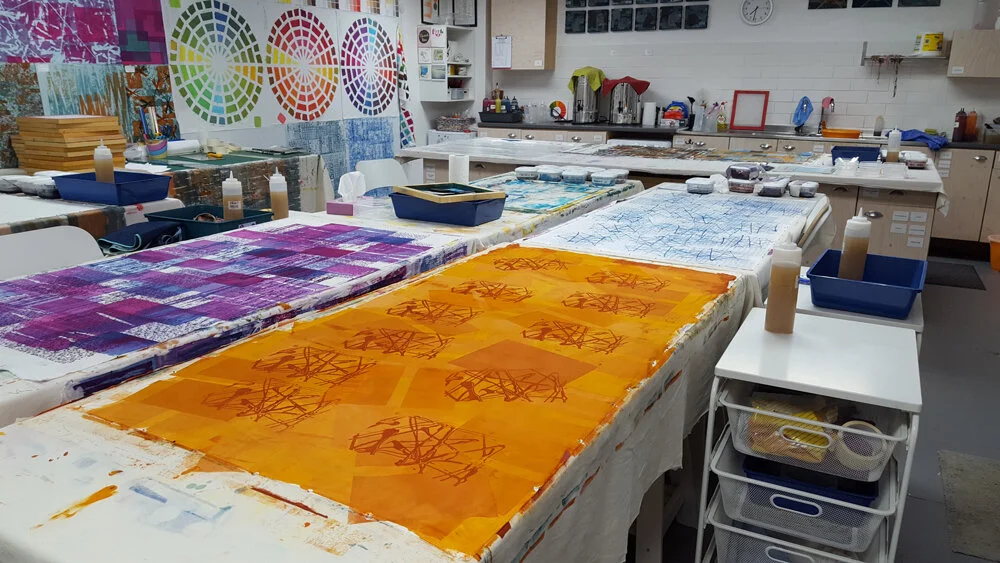
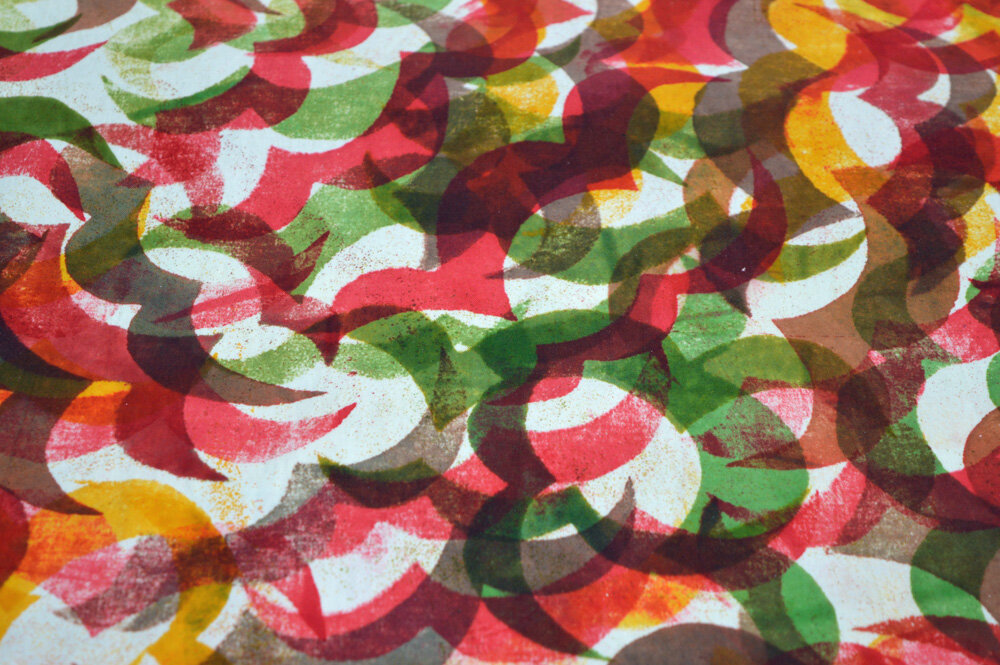
Overprinting a piece of breakdown printed fabric using a screen with a soy wax resist (Susan)
My 2020 teaching schedule got off to a flying start over the last two weekends with days with my Introduction to Surface Design and my Creative Surface Design students. On paper these is a difference between the two workshops. Introduction to Surface Design is technique focused and aimed at people with no or little knowledge of dyeing, printing and other ‘wet’ processes. Creative Surface Design is more design focused and is aimed at people who have some experience in a range of surface design techniques but are struggling to know how to apply those techniques to create their own unique pieces. But, of course, there is lots of overlap and I often find myself adapting each days workshop in response to individual needs. Quickly pulling together a demonstration that I wasn’t planning on or having a discussion on a specific element of design or the design process before I had planned. The lesson plan gets thrown out of the window some days but I love it!. I’ve never responded well to being taught in an regimented environment where I’m told to do A followed by B followed by C when I found B absolutely fascinating and wanted to see what happened if I added a bit of Z. So why would I want to teach like that? Thankfully my students seem to enjoy the deviations!
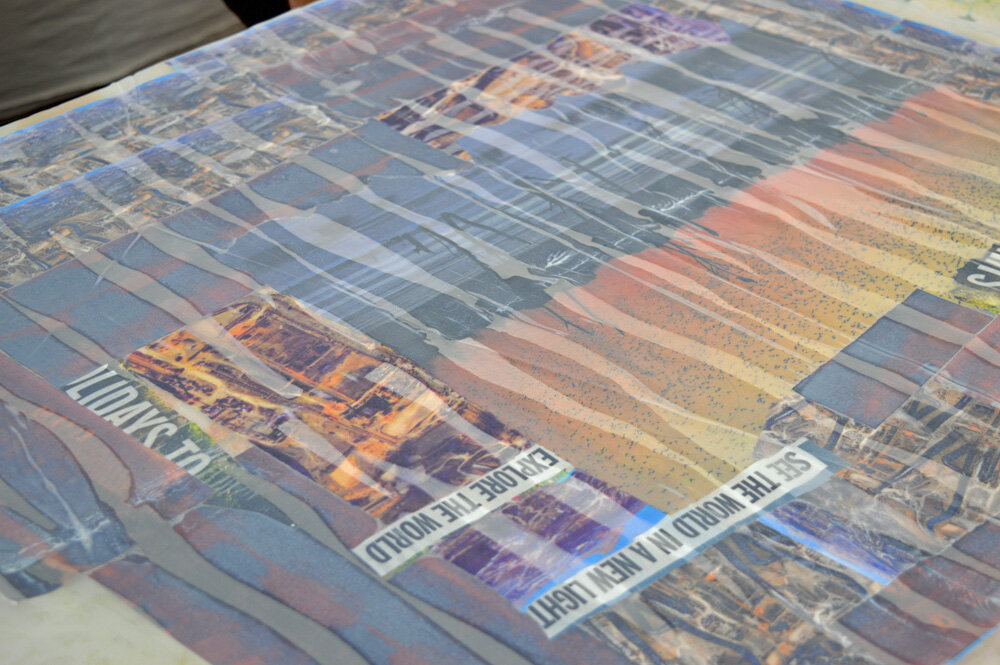
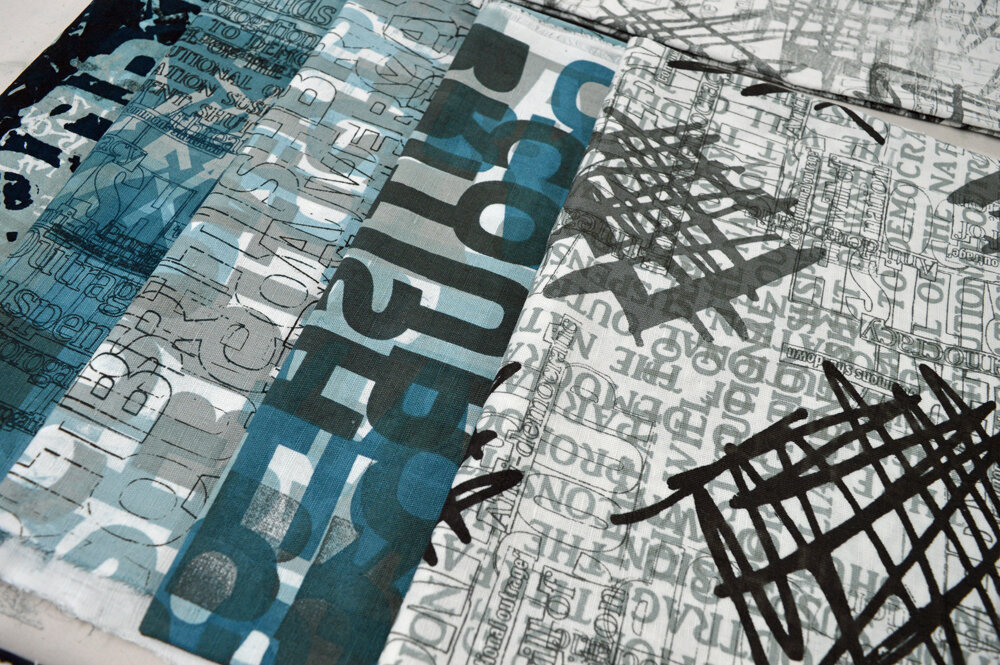
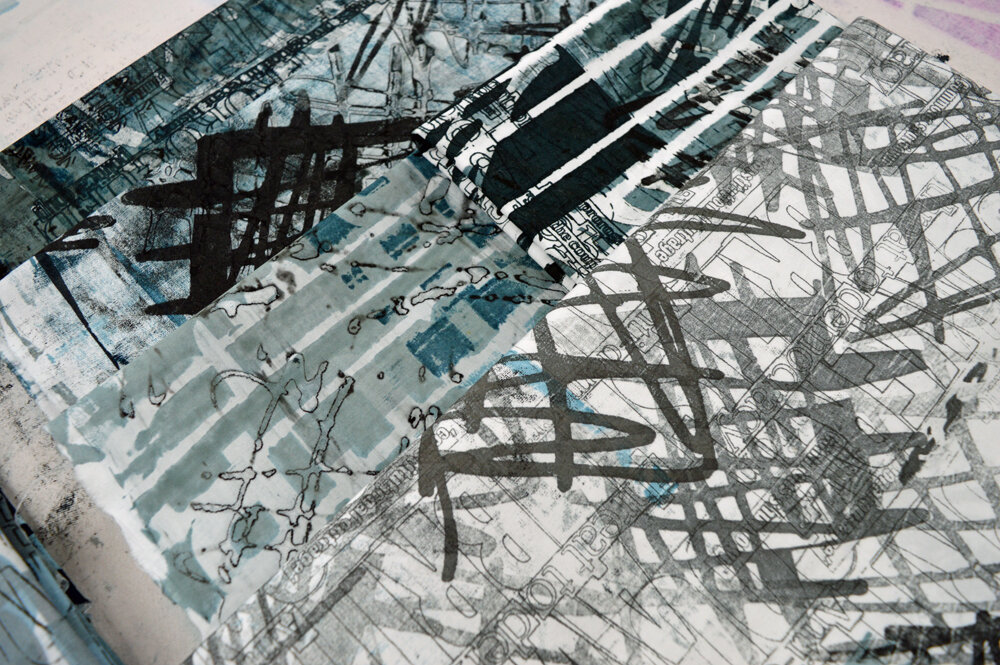
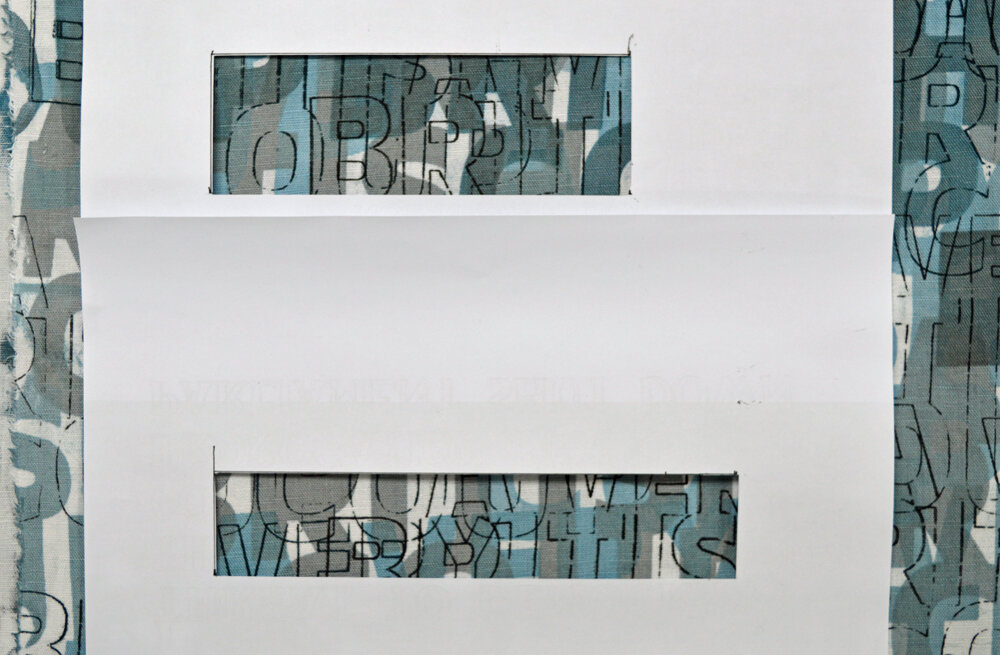
Top two images - paper lamination (Amanda and Sue). Middle two images - using interfacing stencils (Amanda and Pat). Bottom two images - using thermofax screens on top of previously printed fabrics (Michelle and Pat).
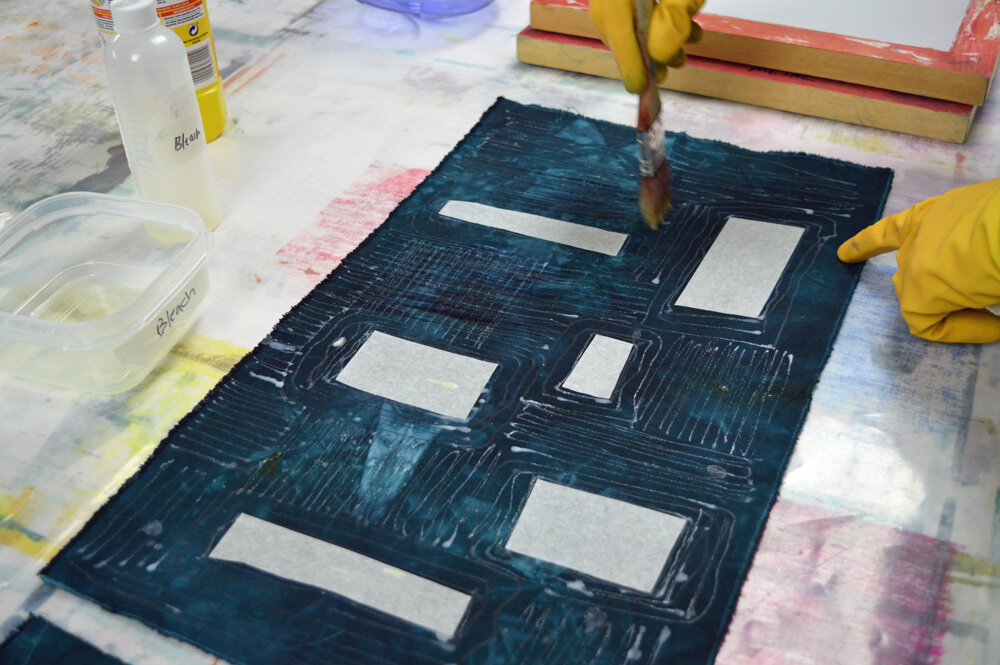
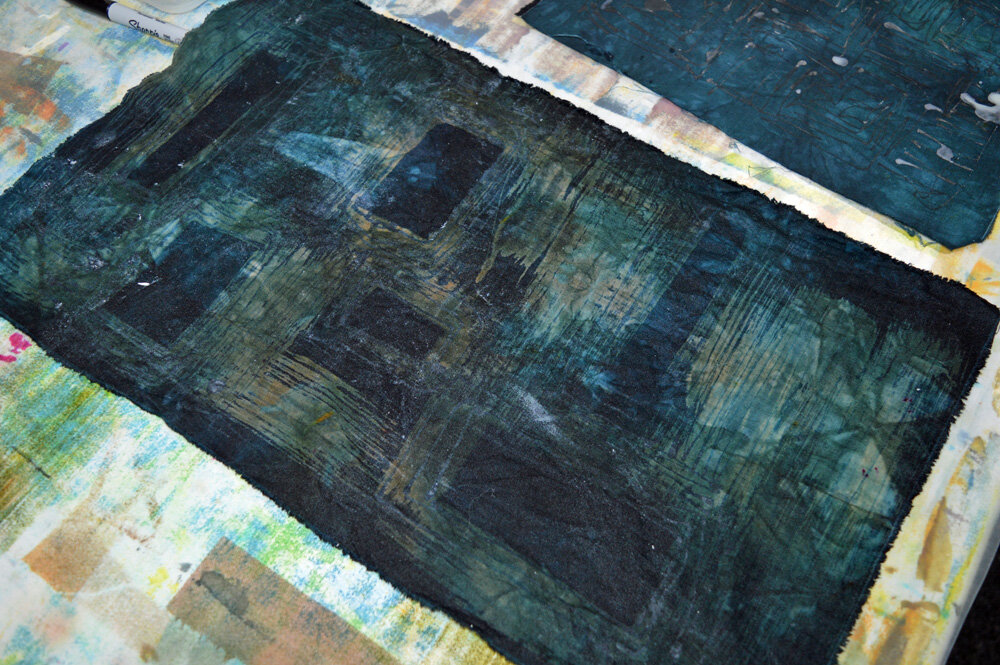
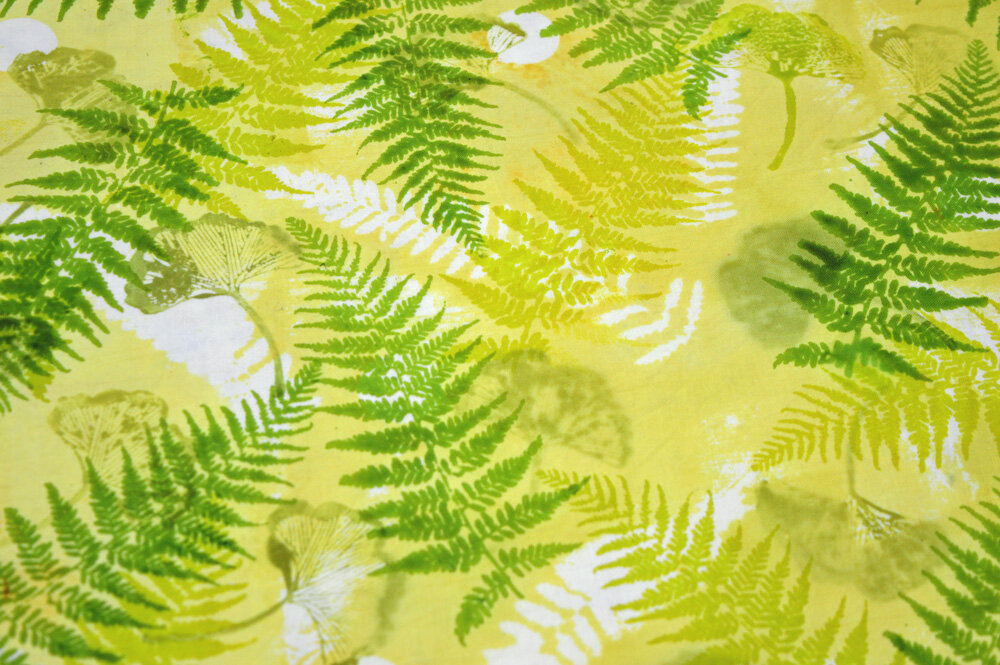
Brushing bleach over hand dyed fabric with soy wax and masking tape resists (Tracey)

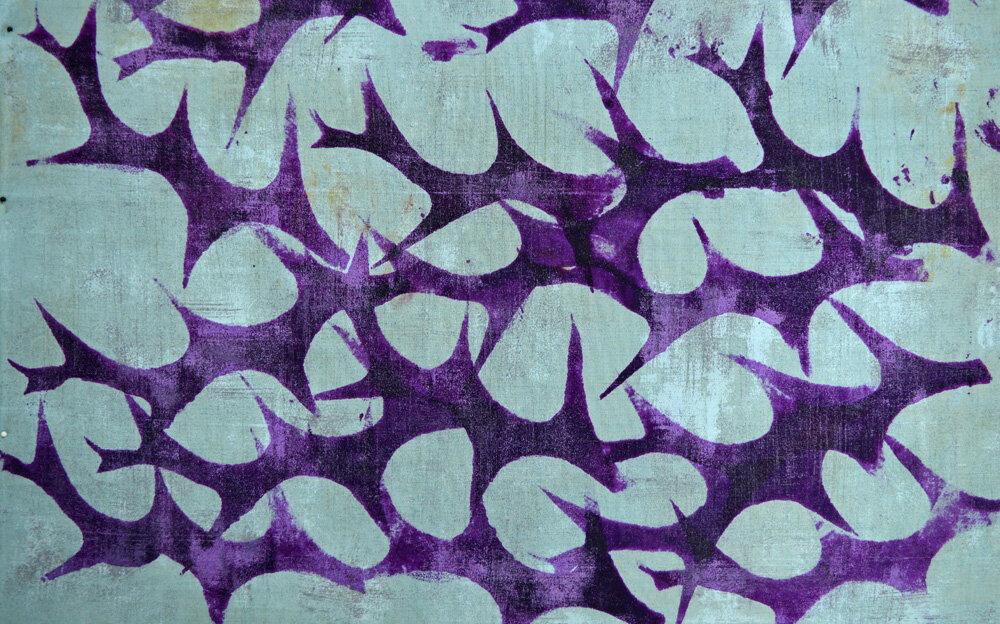
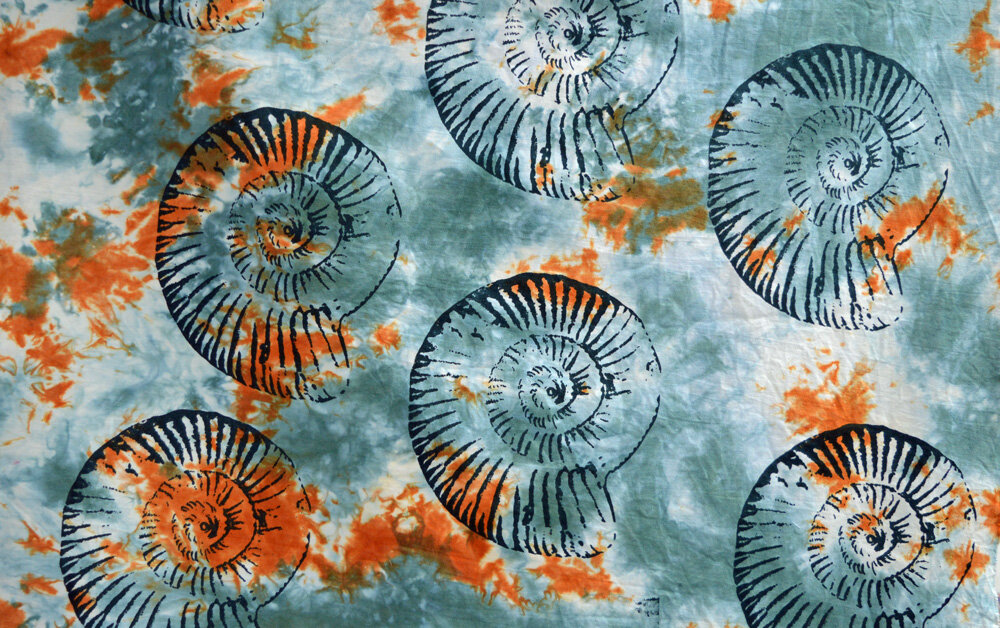
Soy wax screen used to overprint pre-dyed fabric (Margarita)