Posts tagged Dyeing
Sampling and getting there in the end!

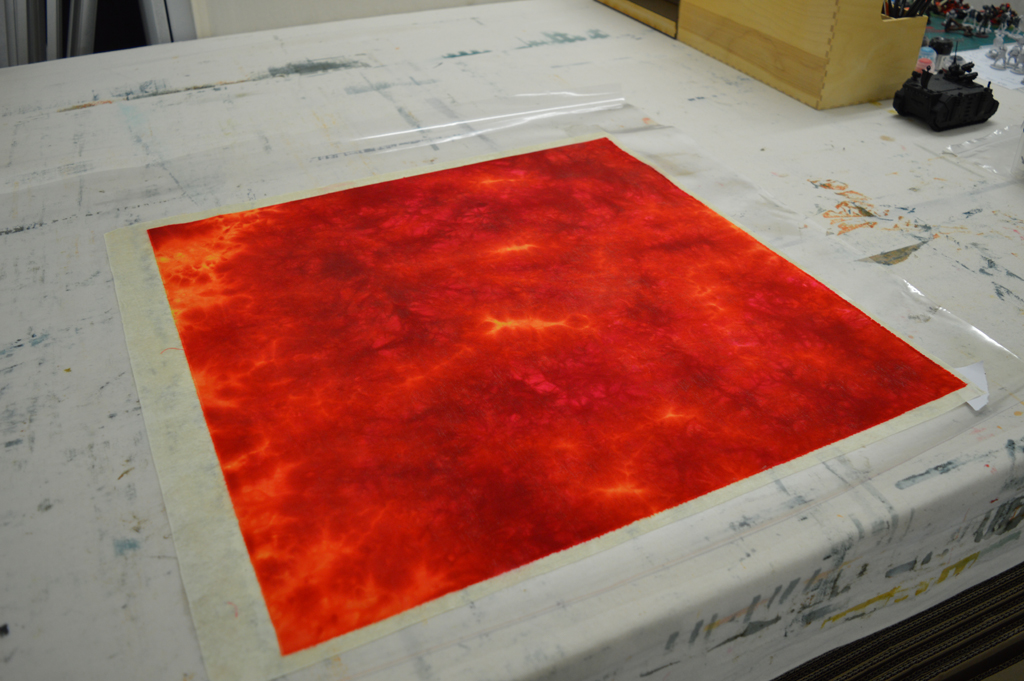
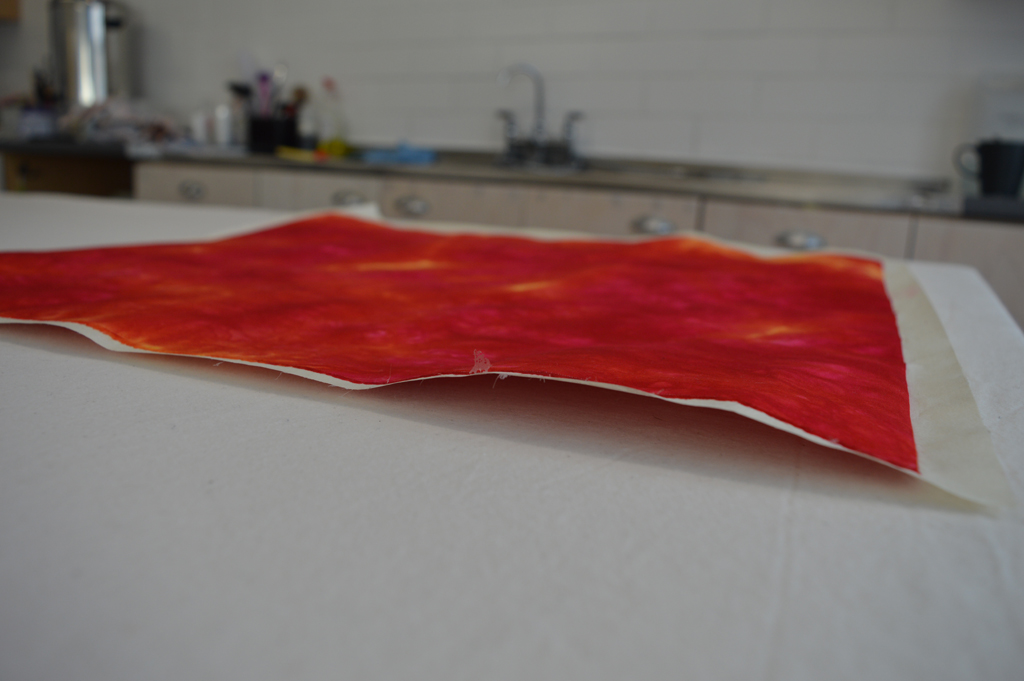
I started sampling ideas for my new series using a selection of dyed fabrics pulled from my stash. Early outcomes did not exactly grab me so I also tried using stencils to take colour out (discharge) and to add colour. Interesting but still not right. I added back colour. And got rather depressed until I decided to change the scale and to add stitch. Bingo!

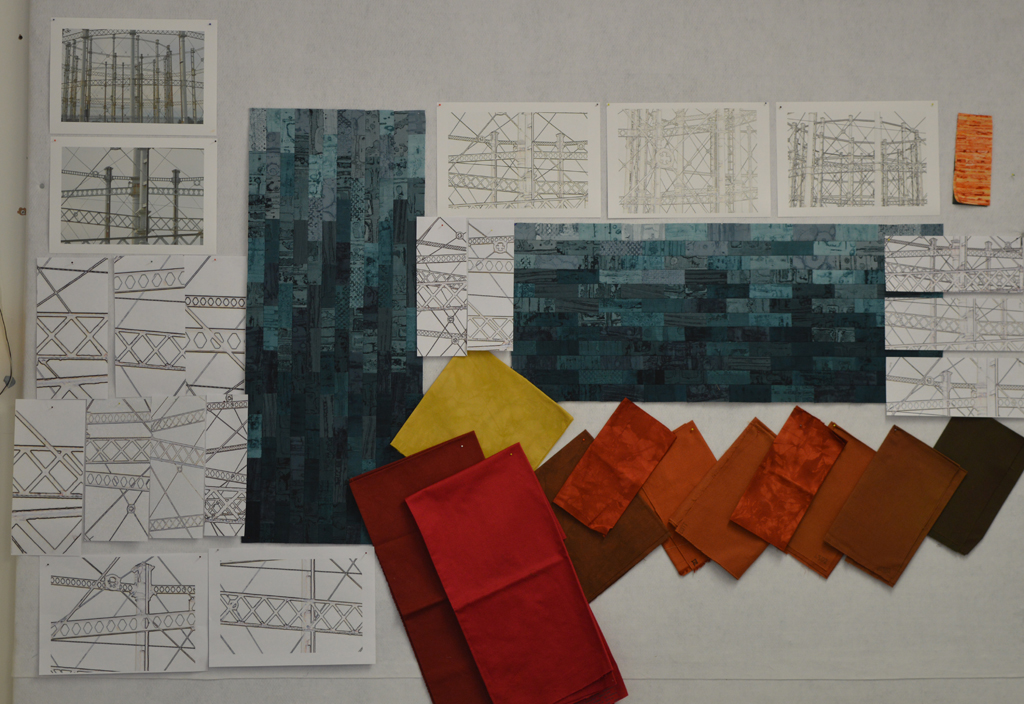
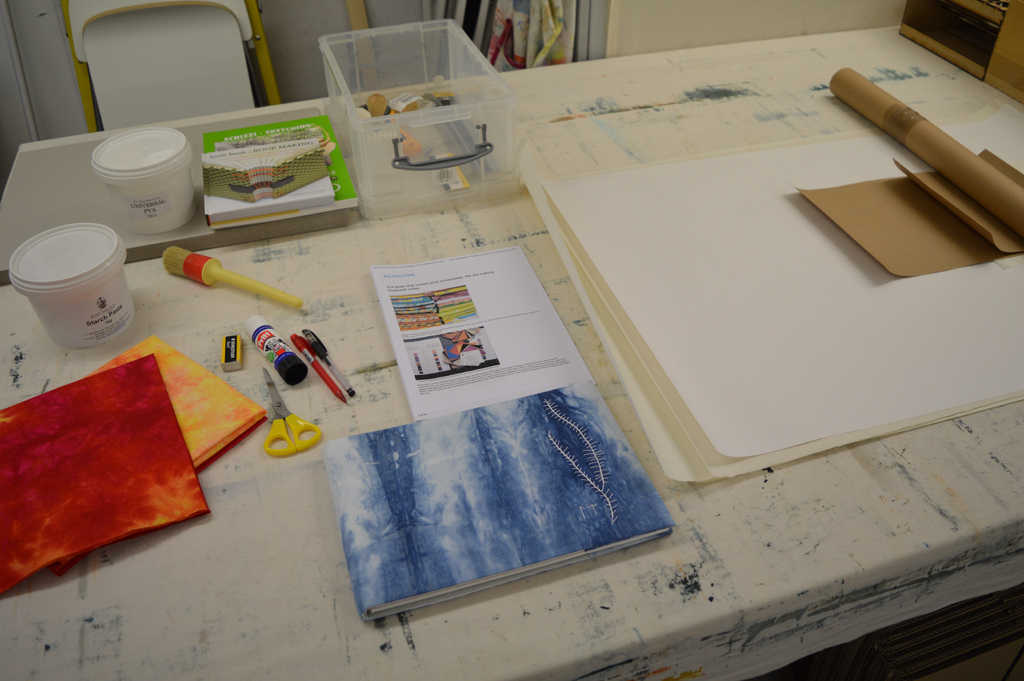
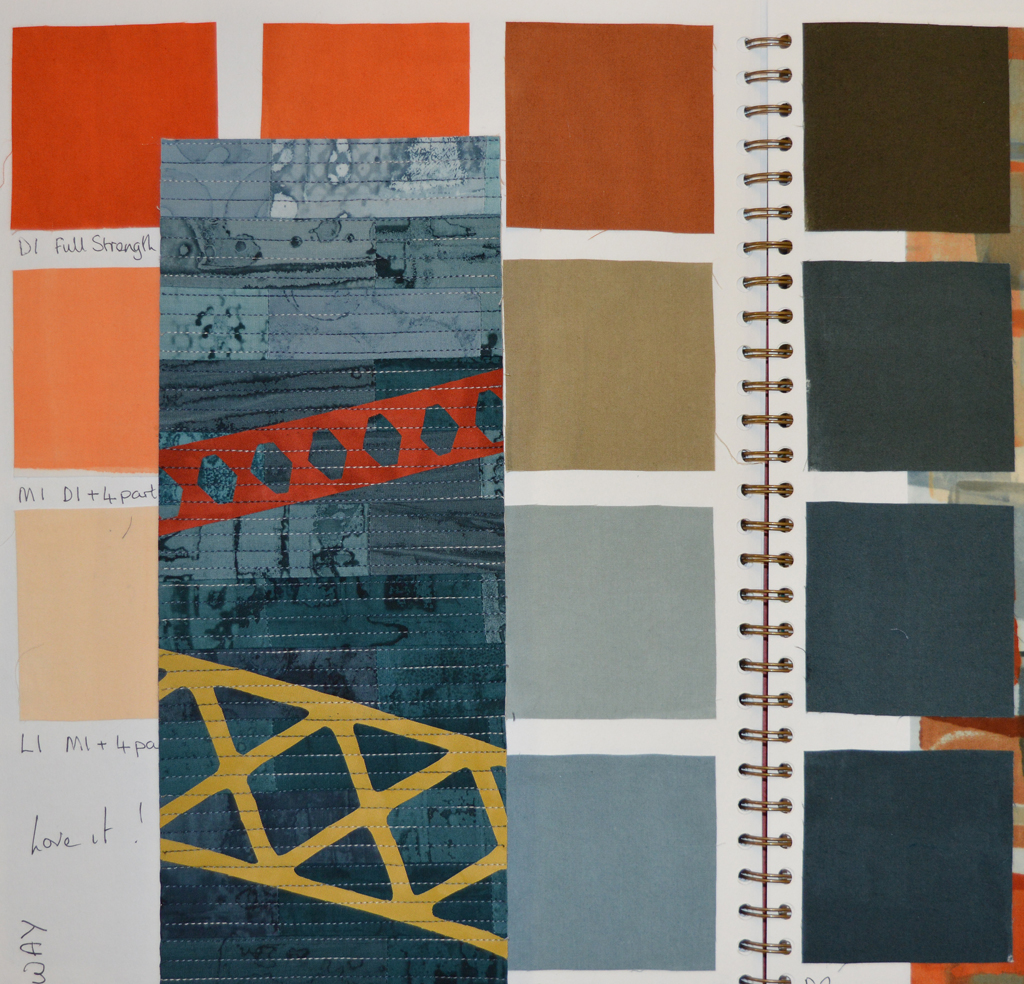
The sample above is definitely a step in the right direction. However looking at it I realised that the colours of the appliqued strips were not really 'me'. Being dyed fabric, they lacked the texture I usually work with. Pieces from this new series will be shown alongside pieces from my Ruins series in the exhibition I am doing with Helen Conway at Stockport War Memorial Art Gallery in Autumn 2018. So I pulled out my colour diary and compared my little sample with the colour family used in Ruins. The background for the new series uses a colour family made from black and petrol green. In my Ruins series I use petrol green and a colour family made from rust and black. Doh ... it seems so obvious now!

That wonderful tingly feeling

In my last post I talked about how creativity tends to creep up on me when I am immersed in process. I follow a set process when developing a new series ... I work on the colours first - pinning them on my design wall for assessment. Then I do the printing and pin pieces up until my design wall is covered. I discard fabric that doesn't 'fit' without thinking too hard about why. I then sample different types of construction. In my Hidden Message series this resulted in several pieces going in the bin before I was happy. With my Ruins series (and the series I am developing now) building a background made of bricks felt 'right'. Having stitched some small sample backgrounds I turn to my design wall again. I don't do sketchbooks - I do pinning things to a design wall until something 'clicks'.

Today I pinned up my two sample backgrounds. I rummaged through my boxes of dyed fabric and pinned up a selection of colours. I am not going to decide yet if the foreground will consist of dyed fabric or printed fabric or stitch yet. They are just up there. I added a couple of photos I took last summer of an old gasworks.

Then I used one of my favourite 'tools' - I cropped and enlarged small sections from the photo and pinned the results up. And I got that wonderful tingly feeling! I don't know what size the finished pieces will be or how I will apply the foreground but I do know what I'm going to be spending the next few months doing.

Coptic stitch and a new favourite tool

The weather here in Dunure continues to be glorious - if this proves to be the best couple of weeks weather this summer then I can't think of a better place to spend them! But you can only sit in the sun reading books and eating ice cream for so long .... Handmade book using coptic stitch

My fourth handmade book is bound using Coptic stitch. The front and back covers are stitched to the paper signatures leaving the spine of the book exposed.

Handmade book with Coptic stitch

I realised last week that I didn't actually have the tools I needed to do a good job on this book. But thanks to internet shopping I was able to buy coloured linen thread, eyelets and a wonderful new tool - a Japanese screw punch. I could have just used an awl to make holes in the front and back covers but that would not have looked as nice as using eyelets. Bookbinding may 'just' be a 'hobby' for me but if a job is worth doing, it is worth doing well!!

Japanese Screw Punch


The sun is shining and I'm making books!

The weather in Dunure has been glorious. So much so that I got a little sunburnt on Monday - pink is definitely not my favourite colour! But every cloud has a silver lining and in this case it meant staying indoors for some of yesterday making books. As hobbies go this is seriously addictive! My second handmade book

My second book was constructed in the same way as the first but I used cotton rag paper for the pages and a bookbinders waxed linen thread for the stitching. I'm much happier with this one - the paper fills the book a bit more and the thread looks more 'substantial' on the spine.

Front of my third book

My third book is A4 rather than A5 and I added some detail to the front cover. Because I had converted my hand dyed fabrics to book cloth I was able to glue the layers in place and did not need to worry about them fraying. The longer spine meant that I could be a little more creative with the stitching. I used the linen thread again and introduced a variant on some of the long stitches. Working on a larger book was a bit awkward at times (could have done with a third hand) but the results are worth it!

Spine of my third book


Bookcloth part 2

This time I used a lighter weight, more expensive Kiraku Kozo paper, again from Shephards. Being lighter weight meant it was more tricky getting the paper laid on top of the cloth. It's a shame you can't buy a second set of hands and keep them in a cupboard until you need them! But being lighter weight meant that it was easier to get good adhesion to the cloth. Again I followed instructions given in the Big Jump Press blog. Just like the piece made with Kozuke paper this piece was quite stiff when dried. Recording my experiments!

However I don't think the stiffness is a problem. I used the first piece of bookcloth to make the outer cover of a 'soft' spine book following instructions on a DVD by Paige Martin called 'Stitch this book'. As it was my first attempted I glued each piece of book board separately and placed these onto the book cloth. I had no issues with blisters or creases - it went together easily. My corners weren't great but practice will make perfect.

I left the cover overnight to dry then added a liner made from the second piece of bookcloth. Again it was pretty easy and I now have a finished book cover! It's been really enjoyable so will spend the rest of today making more bookcloth with the other two types of Kozo paper I have.  A nice way to spend my weekend off!

Completed book cover - outside

Completed cover - inside

Making bookcloth part 1

Last night I made my first piece of bookcloth. I used a piece of my hand dyed cotton poplin with a sheet of Kozuke (44grams) from Shephards. I followed the excellent instructions given by Sarah Bryant on her blog Big Jump Press. Sarah tells you how to make your own starch paste - I cheated and brought some ready made from Ratchfords. I diluted the paste about 50/50 with cold water. Diluted starch paste

I found the process really easy but had to use a stippling brush across the whole surface to get good adhesion between the paper and the cloth - maybe a combination of not getting the fabric wet enough and the starch paste being a little too thick?? Or because of the weight of paper?

Fabric on paper ready to leave overnight to dry

It dried nicely overnight but feels stiffer than I thought it would. So this morning I am going to make another piece. I'm going to spray more water on the fabric and leave it for 10-15 minutes before adding the paper. I'm going to dilute the paste just a little bit more. I'm also going to use a different, slightly lighter weight paper. And yes the scientist that I am in my day job is screaming about the dangers of changing too many variables at once! But, what the heck, it is my weekend off.

My first piece of bookcloth

Taking the weekend off

I was due to spend this weekend visiting Ruth Brown in her studio on Sunk Island. We get together a couple of times a year and generally do some printing or other surface design work; either experimenting together or doing some of our own stuff. This time however I didn't really have any wet work that I wanted to do so suggested that we do something completely different - making bookcloth and bookbinding. I've been thinking about taking up a hobby for a while. Yes, crazy I know given how much I pack into my days already. But sometimes I just want something I can do that I am less 'invested in'. Something that doesn't have deadlines. And bookbinding really appeals to me - it requires precision and attention to detail, it can use some of my stash of hand dyed fabrics and it can include stitch. And, no surprises to anyone that knows her, Ruth happened to have some DVDs on bookbinding that she could send me. But unfortunately Ruth is poorly (get bettter soon!). So, with a deadline looming, I could be sensible and spend the time working on my latest Ruins piece. Or I could stick with plan A and learn some new skills. I'm opting for plan A. So here are all my new treasures ready to go. Gorgeous hand dyed fabric. A selection of Kozo paper. Paste and glue. Book board. Tools. And a lovely sketchbook that Ruth gave me to record my experiments in bookbinding in. Fingers crossed!