Posts tagged Studio
Investing in the future - studio rebuild part 2

Building work is so much easier when you invest early on. Encourage one child (or preferably two as it is always good to have a back up) to take things apart and occasionally put them back together again from an early age. Nuture a love of 'making' - Airfix kits, quilts, simple electronic kits, glitter covered gluey messes, Warhammer soldiers, tin foil covered shields and swords, anything they want. Support said child when they want to make a living by working with their hands. Provide interest-free loans with the Bank of Mum and Dad to buy all sorts of serious looking wood working and picture framing tools. Then sit back and enjoy decades of payback.

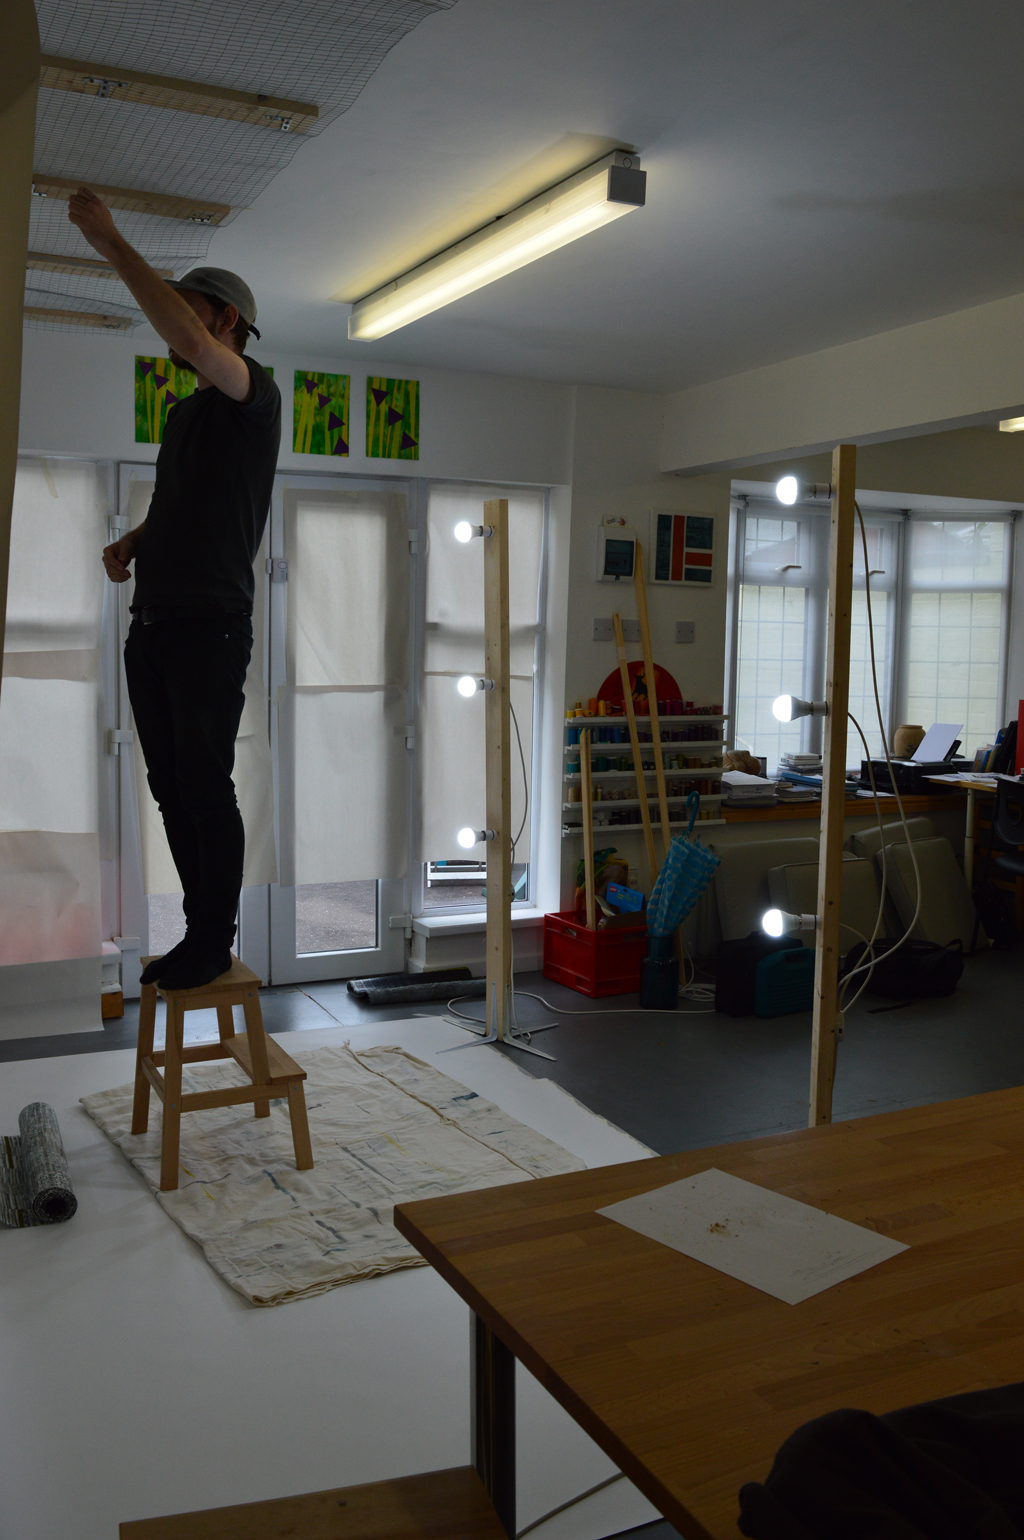
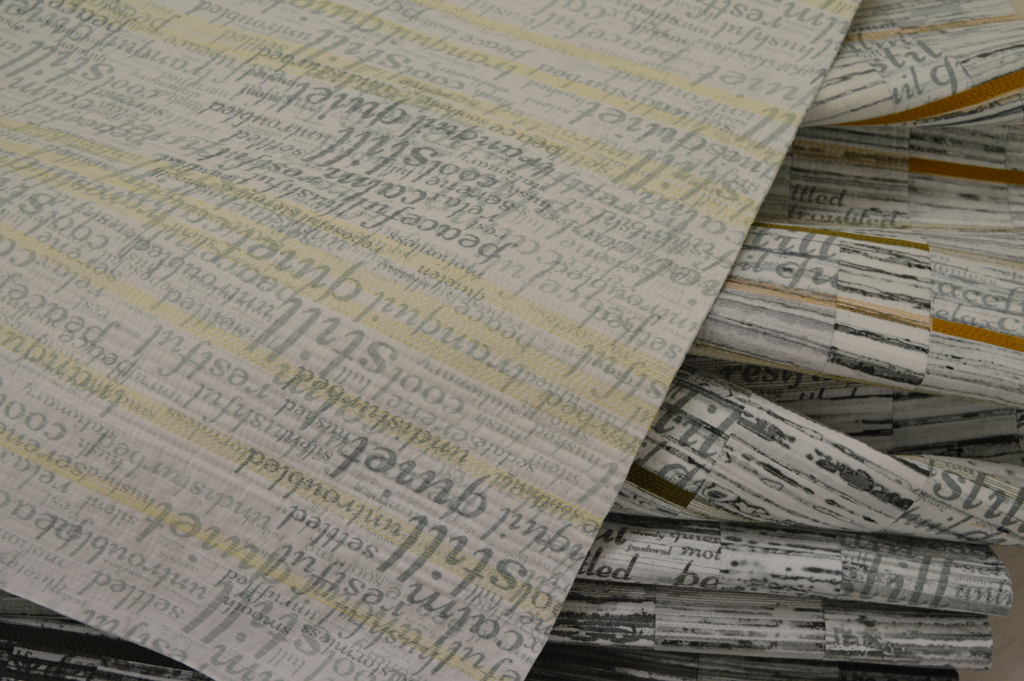
Yes, said son Cal (check out his framing business) put in a solid 6 hours yesterday during which he installed three LED lighting panels, the polystryene panels to make a 6.6m design wall, a bookcase and a CD rack. All for the price of a McDonalds!

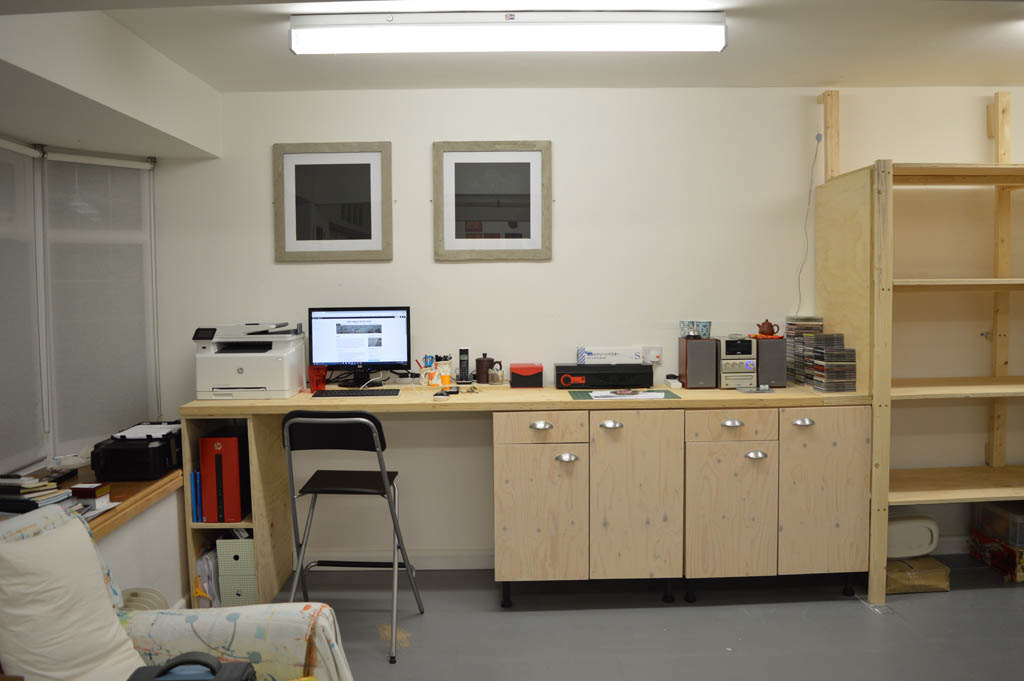
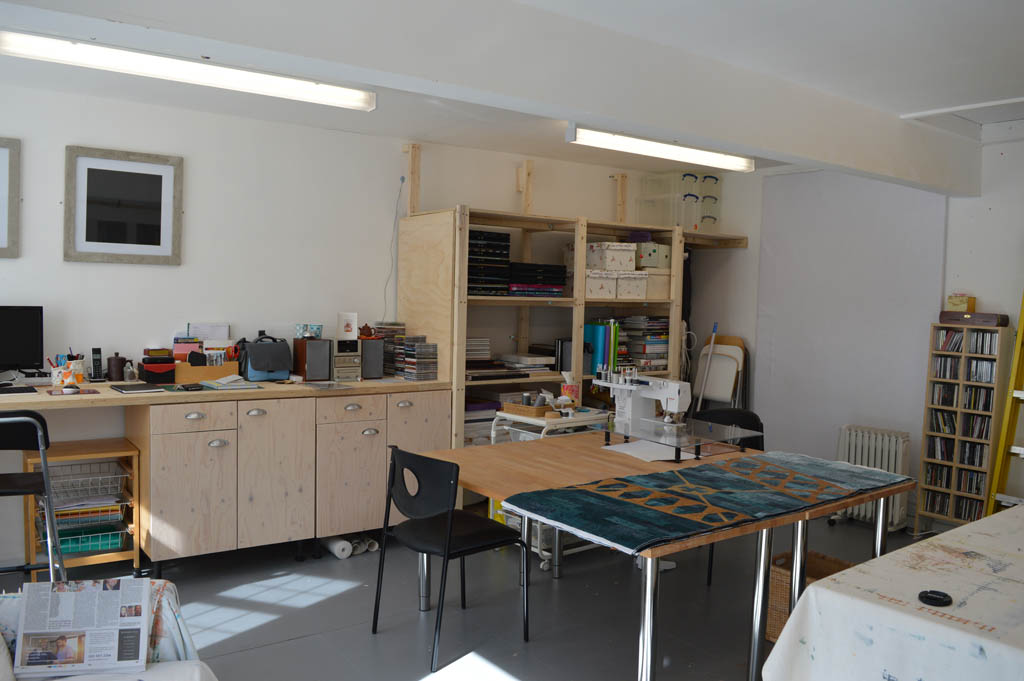
When we first built the studio we spent a lot of the available money on insulation as I knew that it would be hard to form a good studio practice if the studio was cold in the winter. With the rebuild the main investment has gone on lighting. Because I have a day job many of my studio hours are in the evenings. I originally installed 6 fluorescent strips and although I used 'cool white' bulbs the light was still not great. And the light fittings hum. And they cast shadows which makes it harder to photograph my work. So yesterday we swapped 3 of them out for 60W LED panels. They are brilliant. White light without shadows and without hum. The other 3 have been ordered and Cal is on standby to install them. It pays to invest.

Changing practice, changing studio

I've written before about how creating a dedicated studio was a big part of my personal development as an artist. We did the original build just over 3 years ago (Story of my Studio) at which point I shared the space with my son Cal who was starting his own picture framing business. When he moved into his own studio in May 2015 I was able to add an additional print bench and another small design wall. At the time I wanted it to be a space that was attractive and inviting as well as practical and that definitely influenced the layout. We built a lovely bench along the back wall that sat in between two small design walls. My sewing table sat between the two print benches because I liked the symmetry of the layout. But over that last couple of years my work has evolved. My pieces are bigger than my design walls. When I print now I make 4 - 6 breakdown screens at a time and have multiple pieces of cloth on my benches. Having to constantly walk past my sewing table to get to one of the benches is good exercise but a disaster waiting to happen with dripping screens. And I've now got a lot more finished pieces that need to be stored carefully.

So it is time for change. Phase 1 has involved removing the bench from the back wall and building a new installation along one of the short walls. The old deep shelving designed for Cal's wood and tools have gone. The garden chair cushions have gone into a new store in the garden. The separate desk used for my computer has gone. Instead Cal reused the bench and built new shelving that is a better size for my needs. We have moved the sewing table and print benches around so that my 'dry' area and 'wet' areas are now separate.

My new 7.5 metre long design wall will be built in 'phase 2' over the Easter weekend and I am open to suggestions on the best way to do this. I'm also going to change some of the lighting. And, if we get time build a book case.

But for now the studio is clean and tidy (enough) that I can get back to stitching. And the sun is shining. Life is good.

Photographing my work (again)

Happy today? (detail) When I needed to photograph a really big Ruins piece in August I ended up borrowing a studio and some lighting. (The design walls in my wonderful studio just weren't big enough.) And whilst I was happy with the result it was a lot of effort to 'book' the studio, transport the quilt etc. So, with help from son Cal, I have built a system that will allow me to photograph big pieces and 3D pieces in the comfort of my own studio. Just in time to photograph my latest piece 'Happy today?' which is a double sided long thin piece designed to hang from the ceiling and pleat onto the floor.

We brought a 2.7m wide roll of photographic backdrop paper which sits on a narrow shelf built onto one of the long beams in the studio. This allows me to drop the paper down and along the floor. We brought a roll of metal mesh and used wood battens to fit a length to the ceiling in front of the backdrop roll. In the photo below Cal is using picture hooks and nylon hanging thread to suspend the quilt about 30cm in front of the backdrop. Cal made me two lighting stands. Each is a 6ft length of timber with four 10inch shelf brackets attached to the base to provide stability. He drilled out 3 holes on each upright through which he has attached regular bayonet light fittings. Having inherited my 'tidy' gene Cal put a junction box on each upfright so that each is run off a single plug. We used six non-directional cool white light bulbs to gave lots of good light although I need to invest in a better way of cutting the light from the french doors as this gave us a bit of problem with shadows.

Once we had finished photographing the piece we rolled up the paper and stored the lighting stands. (And moved tables, chairs and print benches back in place!). We have already decided that the system could be improved. Sometime before I use it again we need to get a 2.8m wood or metal pole to hang the roll of backdrop paper from so that it drops without any distortion. We need to replace the wire mesh with something more heavy duty especially if I want to photograph bigger, heavier pieces. And we need to paint everything white so that it looks nicer! Well maybe 'need' is a bit of an exaggeration but I do have the 'tidy' gene!

Blimey - so much stuff!

We are currently turning an old, spare bedroom into a super hero pad for our grandson. Or rather my son is decorating; I am just driving to and from B&Q and paying. Unfortunately the bedroom wasn't really spare - it was full of stuff, lots and lots of stuff. Including lots of my 'quilt / art' stuff that I hadn't looked at, let alone used, in years. And a large pile of finished quilts. My son, very helpfully, carried everything out to the studio. Oh boy do I have a lot of 'stuff'! There was some stuff that was easy to throw out. A big box of painted papers (mostly created during a couple of City and Guilds courses). Two boxes with scraps of commercial fabrics left over from long forgotten projects. Some tapestries and cross stitches that I did 25 - 30 years ago that have sat in a box ever since. There was some stuff that absolutely had to be kept. A letter press and 4 boxes of type (left behind when our daughter left home), lots of books, some unfinished projects that I will complete at some stage (assuming I live to 110!) and many of the quilts. But not all of them. I should probably throw away more but can only bring myself to get rid of 3. One was a Hoffmann Challenge piece (do they still exist?), one was hideous when I made it and still is, and one from the above mentioned C&G course. It feels a bit strange but quite liberating. Have I crossed a Rubicon?

In honour of this momentus occasion I thought I would share a couple of my older pieces. The first is the last 'tradional' quilt I made. At the time I was a still a member of a local quilt group and the piece was a result of one of their workshops. I called it Slapdash because my points don't all match (sorry quilt police!). I only actually finished this in 2012 - it felt important to finish it, a like closing a door on a previous life. It is just over a metre square and I'm looking for a loving home for it.

9 February 2016 2

The second piece is called London, England and was completed for a Quilters Guild challenge at Festival of Quilts in 2010. I made this after finishing my City and Guilds Diploma. I had spent nearly four years immersed in Gothic Cathedrals as a design source and needed some light relief. So I made this without using a sketchbook or creating samples. Do you like the very professional photography! I'm not only going to keep this, I'm going to hang it in my grandsons new bedroom - I think Thor and The Hulk would appreciate giant ice creams!

9 February 2016 1


What's your working space like?

I read a great interview with 3D embroidery artist Isobel Currie on the TextileArtist.org website about her workspace. It is a 1.7 x 2.8m portion of the family dining room. She makes the point that the working environment is critical to the enjoyment of the creative process but also to the quality of the outcomes. For her it is important to be creating within a domestic environment rather than in a separate studio space. That brings with it size restrictions and, for Isobel, the need to work in a tidy and well organised way. Have a look at the interview. It is illustrated with photos of her beautifully colourful craft cupboard. Compared to Isobel, and many of my artist friends I have a huge workspace. My studio is 8.5 x 4.5m with two big print benches, a dedicated sewing area and three design walls (albeit none of them is as big as I really need!). I could, in theory, be really messy and still have room to create. But alas that just doesn't work for me. I need a tidy, clean and well organised environment in order to 'free up' my mind to create. Which is maybe reflected in the fact that my art always has strong structural elements and in the fact that I take pleasure in sewing in my ends even when I am machine stitching hundreds of parallel lines!

All my threads - storage and a piece of art at the same time!


Looking for the positive

Photos from the beach at Dunure It has been several weeks since I last blogged and I have a confession! I have been lamenting all the things that 'LIFE' has stopped me doing recently instead of focusing on what I have actually achieved during what has been a very difficult couple of months. That needs to change. So here is a list of what I have been doing (in no particular order):

  1. I have developed a new colour family based on the colours of the rocks and pebbles on the beach at Dunure.
  2. I have completed Ruins 4 and entered it into Contemporary Quilt Group exhibition being curated by Kate Findlay.
  3. I have built and installed a third design wall in my studio.
  4. I have built shelves to store my threads.
  5. I visited Festival of Quilts and saw my first Ruins quilt beautifully hung next to the wonderful quilt by Susie Koren that won Fine Art Quilt Masters.
  6. I've printed some extra fabrics for the ongoing Ruins series and started to put together Ruins 5 on the design wall.
  7. And I've given myself a mental 'kick up the backside'!

New colour family based on a 'true' black and a dirtied up golden yellow

All my threads - storage and a piece of art at the same time!

Detail from Ruins 4